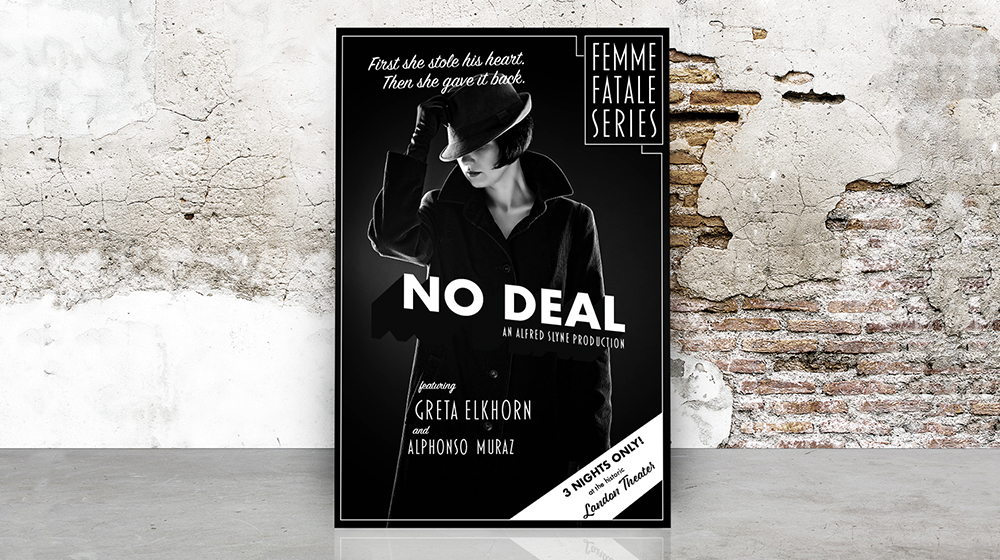
This sample file is an Adobe Stock image you can use to practice what you learn in this tutorial. If you want to use the sample file beyond this tutorial, you can purchase a license on Adobe Stock. Check out the ReadMe file in the folder for the terms that apply to your use of this sample file.
Create a film noir effect in Lightroom Classic
The film noir trend in Hollywood during the 1940s and ’50s featured a visual style that heightened the sense of alienation and deception. Create tension in your photos by applying a touch of film noir using Adobe Photoshop Lightroom Classic CC.

What you'll need
Choose File > Import Photos and Video and then add the sample photo, or use your own.
Start with a photo that strikes a dramatic pose. It’s okay if it’s color. Then, go to the Develop module and locate the Presets panel.

Explore the Classic–B&W Filter options in the Presets panel and you’ll have the look you want in no time.


Now you can explore your dark side on other photos.
With Adobe Stock, you have access to more than 100 million high-quality, royalty-free images including photos, graphics, videos, and templates to jump-start your creative projects. Try Adobe Stock and get 10 free images.
* Nguồn: Lightroom Classic
Ý KIẾN THÀNH VIÊN