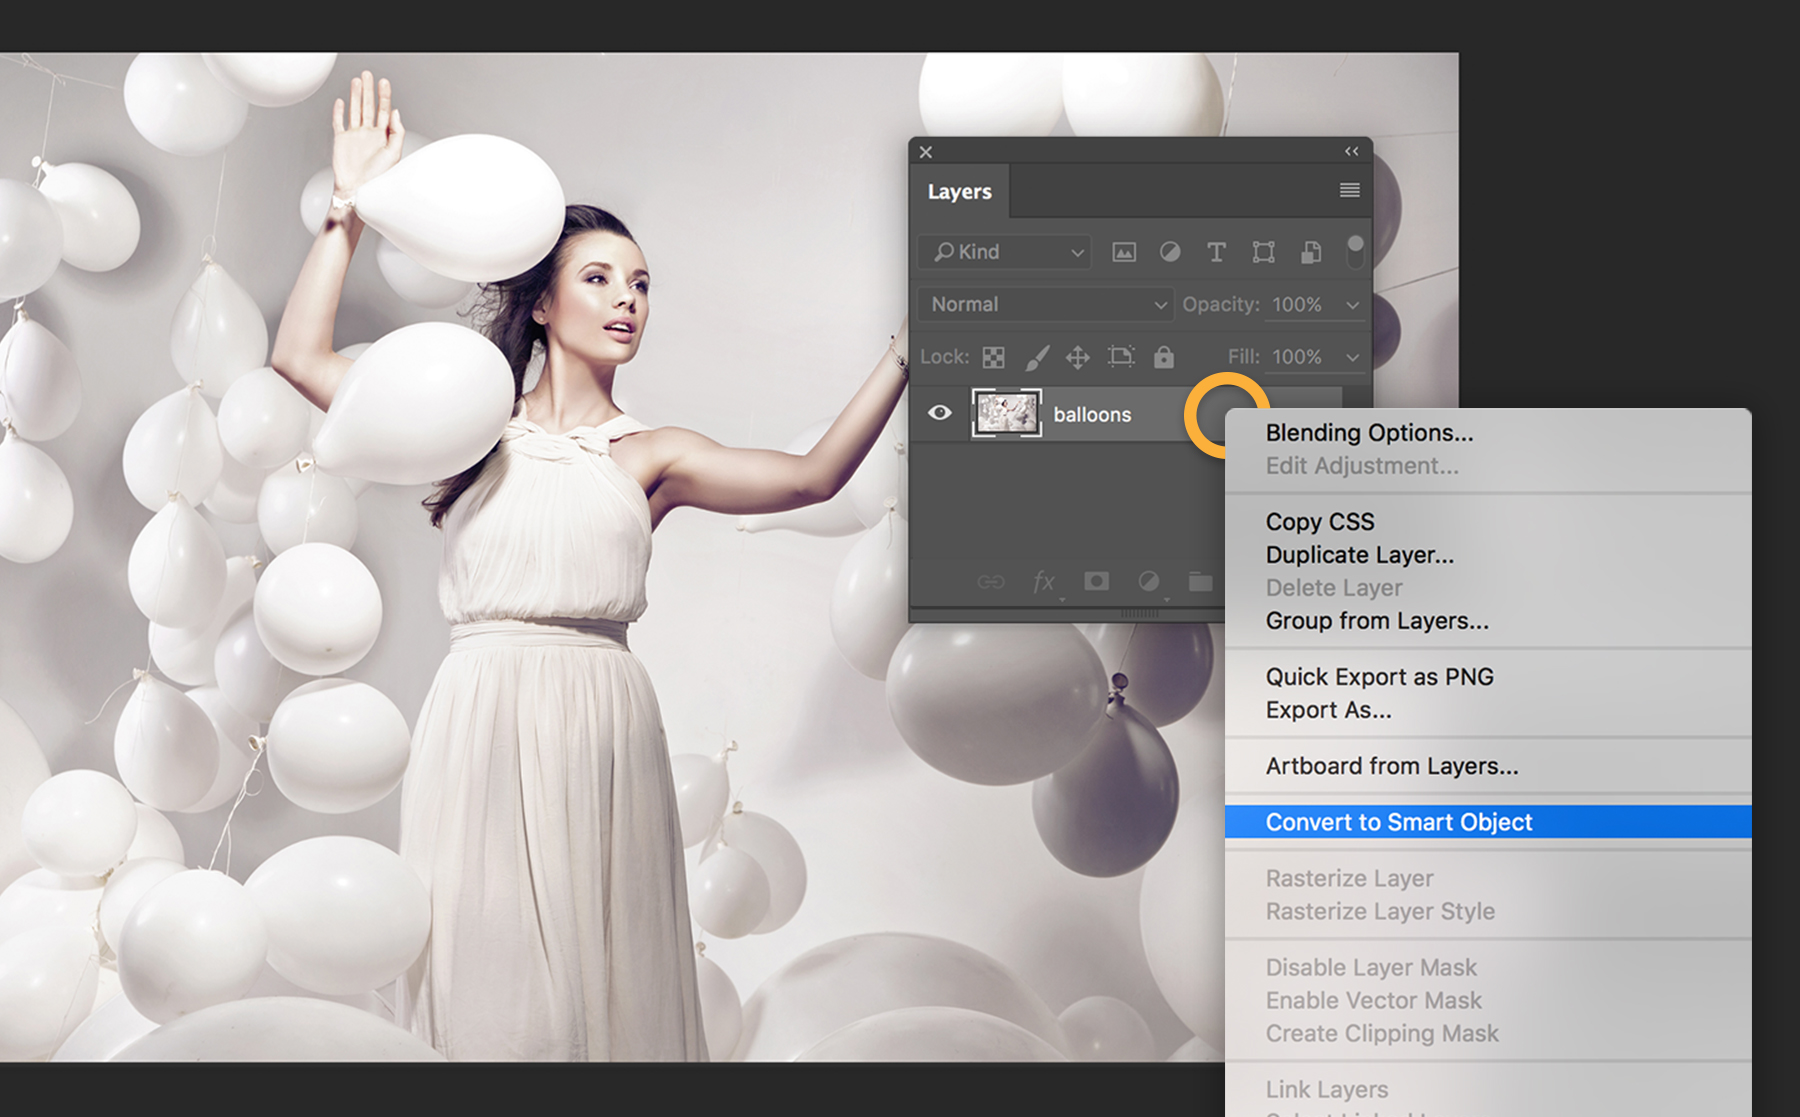
In the Layers panel, right-click near the image name and choose Convert to Smart Object so you can add effects without permanently changing your original.
Add creative blur to photos in Photoshop CC
Even when you’ve captured the perfect moment, you can add some drama to your still image using a variety of Blur filters.

What you'll need

To play with depth of field, choose Filter > Blur Gallery > Field Blur. You’ll see a pin in place blurring the entire image. Click an area you want to keep in focus to create a second pin, and then drag its blur dial to zero. Add more pins to set different amounts of blur for other areas.

Create a sense of speed by adding a blur that flows in one direction. Choose Filter > Blur > Motion Blur and adjust the Angle to match the direction of your subject’s motion. Use the Distance setting to control the amount of blur.

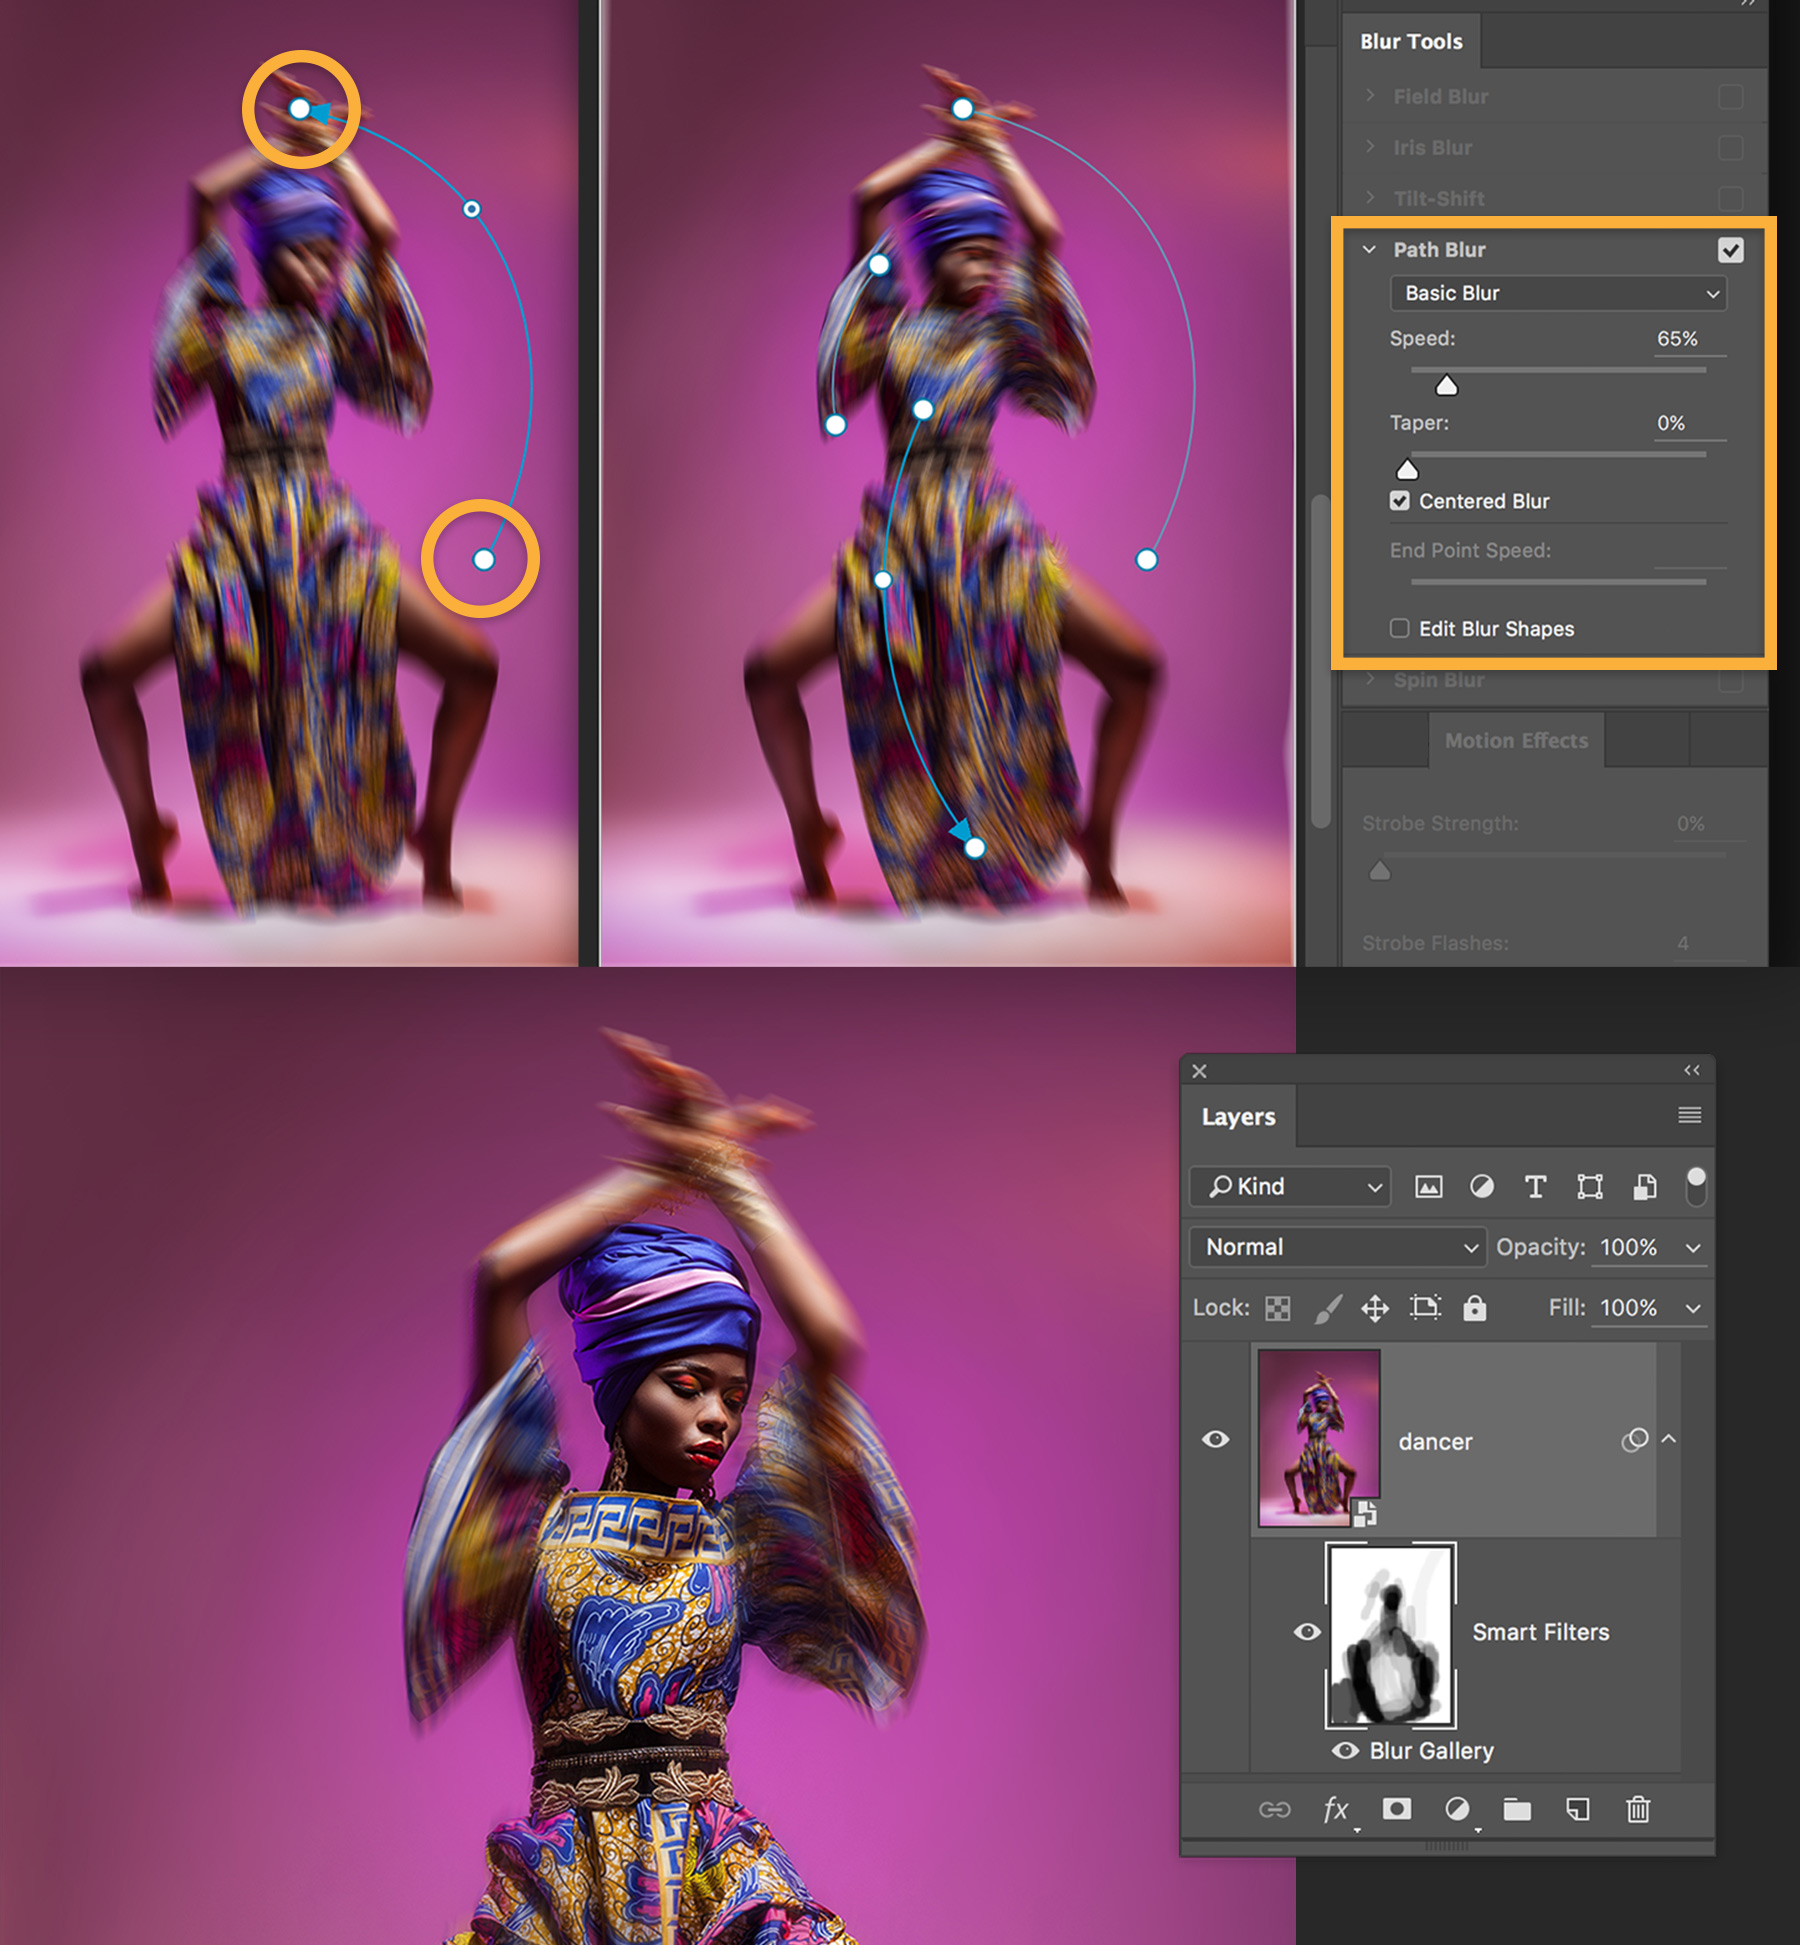
Isolate the blur effect by masking the areas where you want to keep detail. In the Layers panel, click the Smart Filter mask thumbnail and use the Brush tool to paint over areas that should not be blurred, like in this example, where we kept the racer in focus.
To learn more about masking, see Mask out part of an image.

To create movement in multiple directions or along a curved path, choose Filter > Blur Gallery > Path Blur. Drag the controls to create a blur in the direction of the arrow. Click and drag in other areas of the image to create blur paths in other directions.
For more on adjusting Path Blur options, see Path Blur.
For more on image selection techniques, see Easily and accurately select image areas.

* Nguồn: Photoshop CC
Ý KIẾN THÀNH VIÊN