Note: The Title tool featured in this tutorial is now the Legacy Titler, as of the Premiere Pro CC 2017.1 (11.1.0) release. Learn how to create title graphics in the new Essential Graphics panel.
Add titles and graphics to your video in Premiere Pro CC
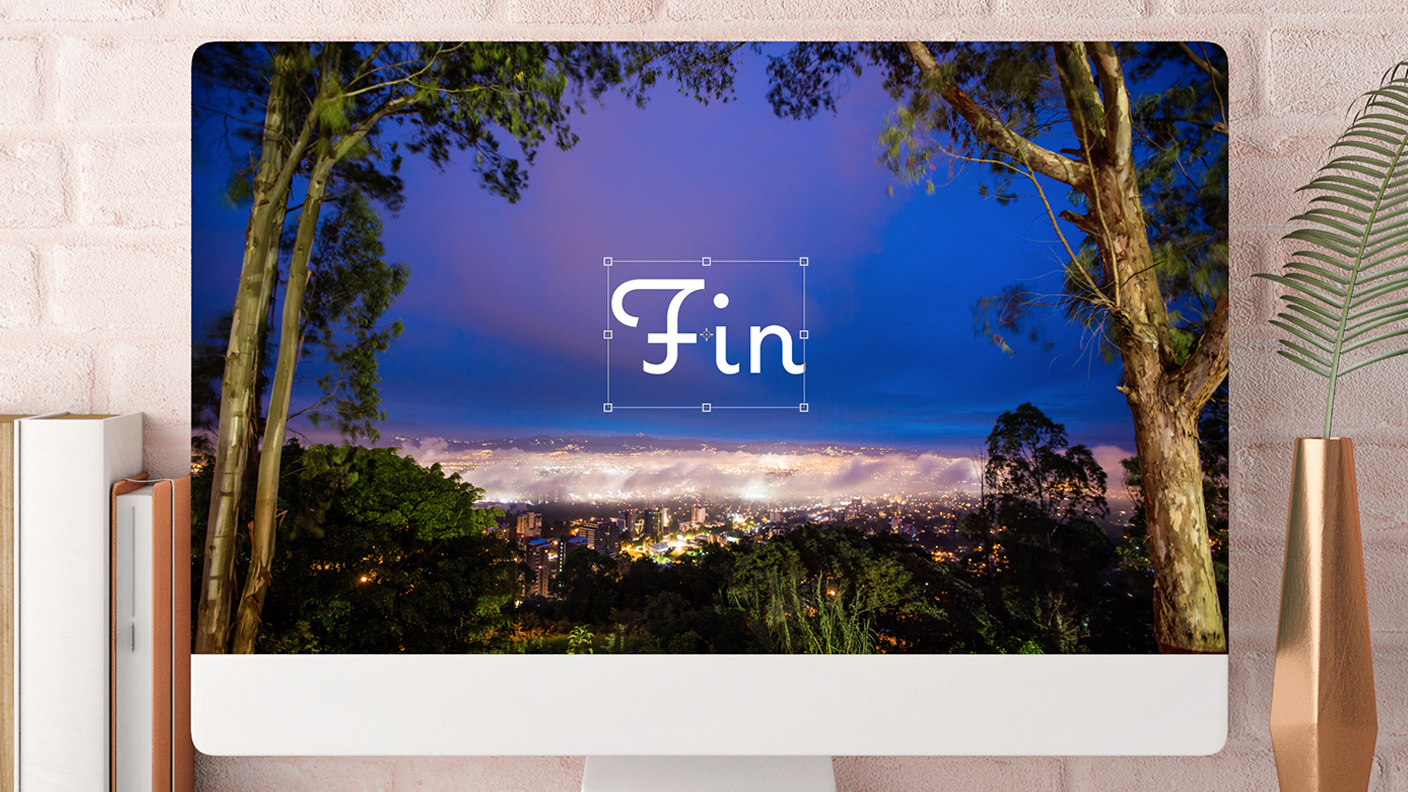
Begin your video with a customized title in Adobe Premiere Pro or brand your work by adding a graphic or logo.

Start in the Titles workspace by selecting Titles at the top of the screen or choosing Window > Workspaces > Titles.
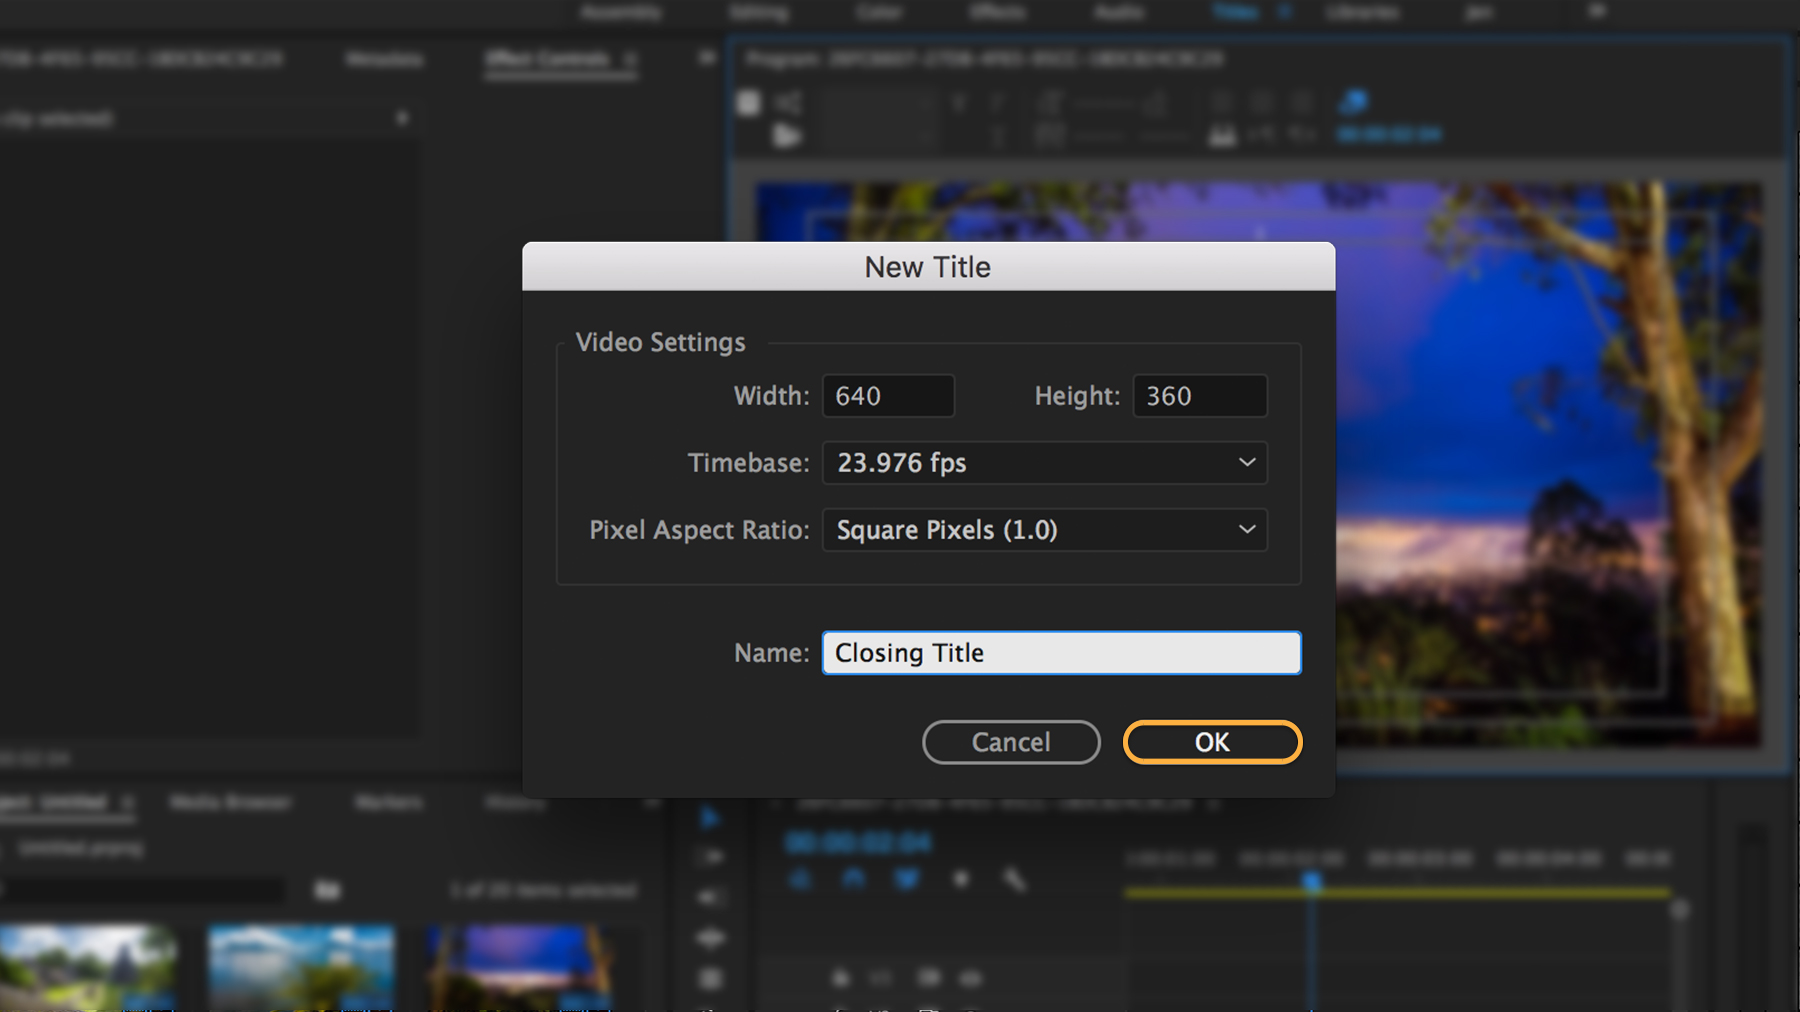
From the main menu, choose Title > New Title > Default Still. In the New Title dialog box, give your title clip a name and click OK. This saves a blank title clip in the Project panel and opens it in the Title panel.

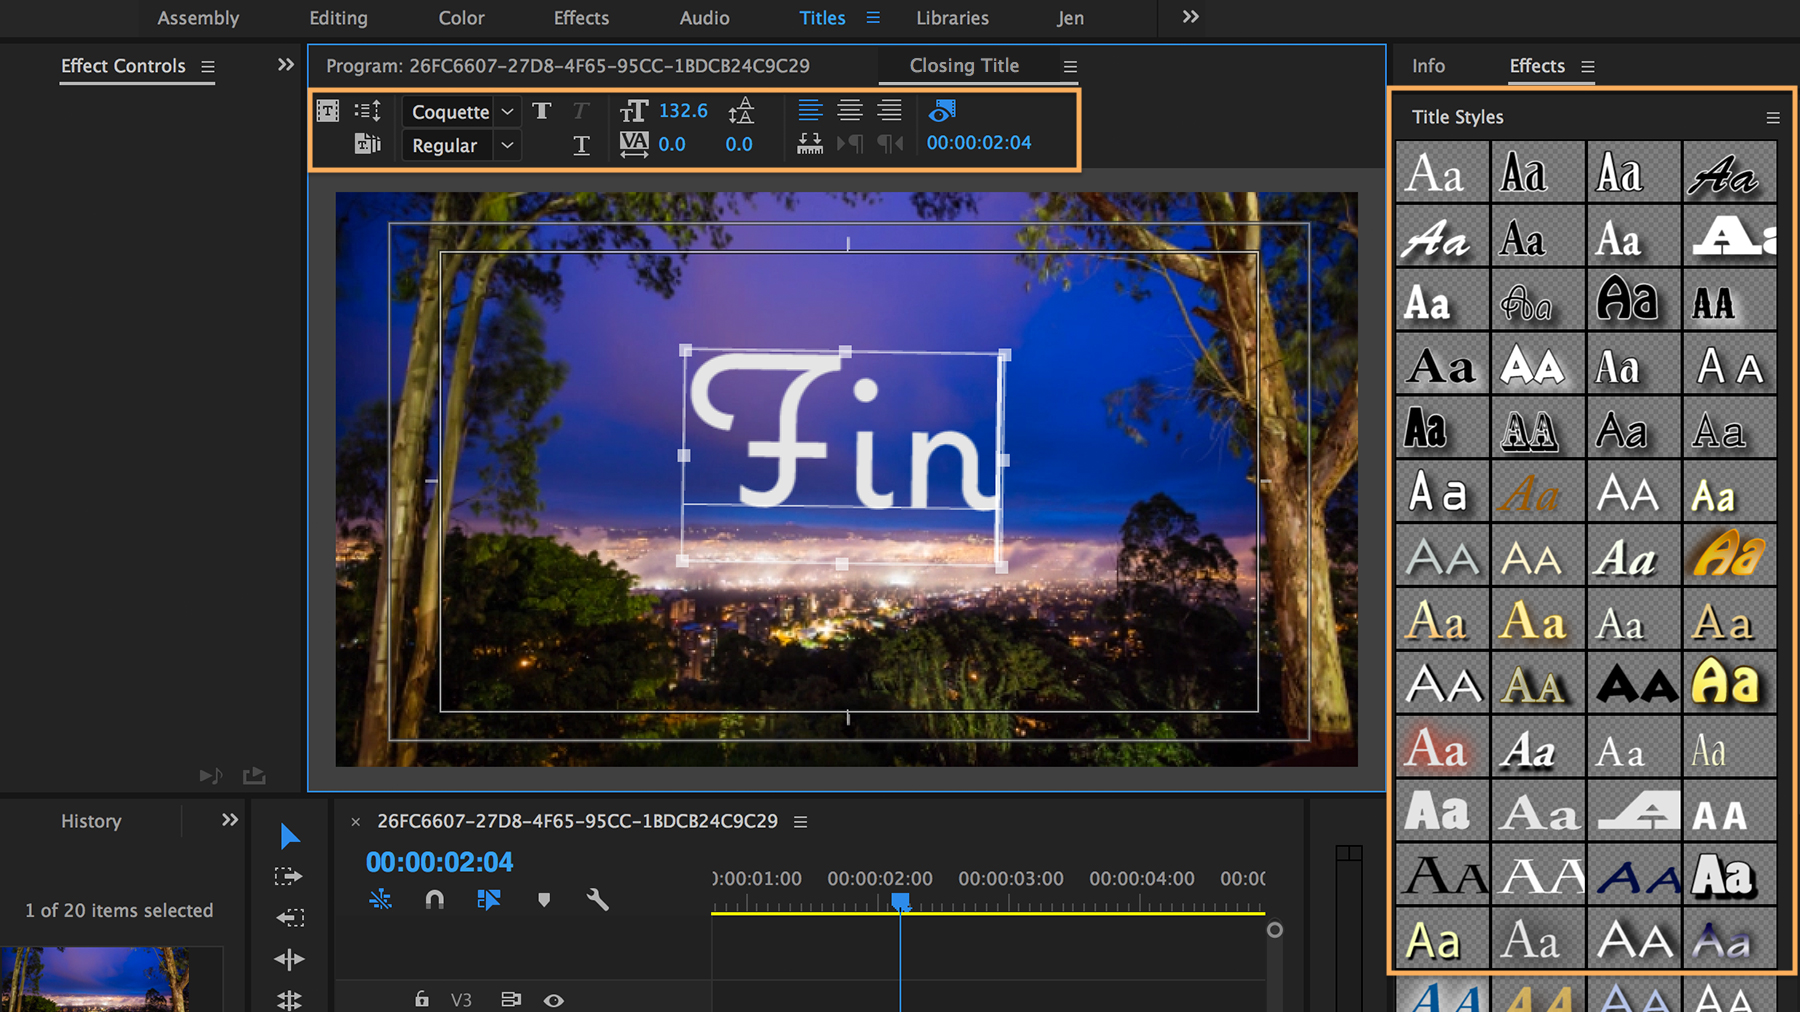
First make sure the Type tool is selected in the Title Tools panel on the right (choose Window > Title Tools to reveal it). Now click inside the title area and type your title. To stylize your type, choose Window > Title Styles to reveal a panel of preset styles — or select your own font, size, and alignment options at the top of the Title panel. Additional type-adjustment controls appear in the Title Properties panel (choose Window > Title Properties to reveal it).
To reposition your title, click the Selection tool in the Title Tools panel (choose Window > Title Tools to reveal it) and then drag the text block where you want it to appear.
Note: The position of the playhead in the Timeline panel determines the background image you see in the Title panel.

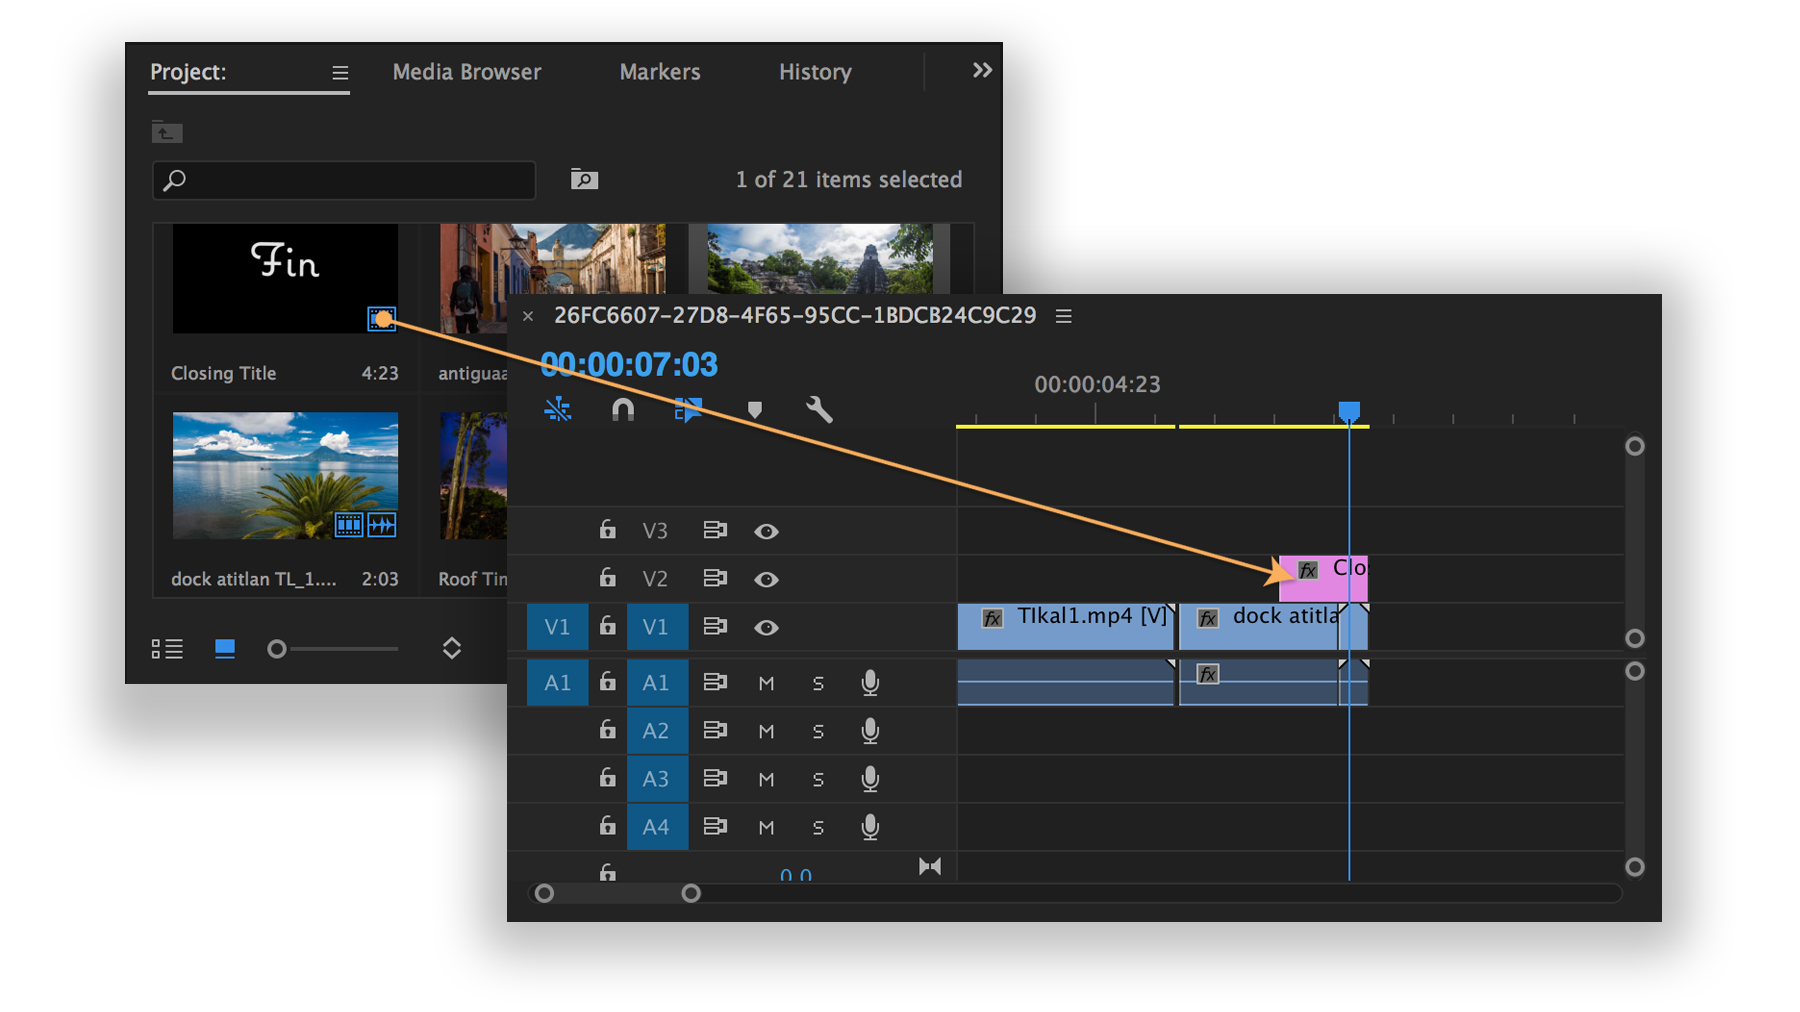
When you’re ready to add the title to your sequence, drag the title clip from the Project panel to the sequence in the Timeline panel. Be sure to position it above another clip if you want to superimpose the title over that video clip. Drag the edge of the title clip right or left to lengthen or shorten its duration. Play the sequence to see how it looks.
Tip: To insert your title clip at the very beginning of the sequence, hold down Control (Windows) or Command (macOS) before you drop the clip in the sequence. This pushes all the other clips to the right to make room for the inserted title clip.

An easy way to import a logo created in Adobe Illustrator CC or a graphic from Adobe Photoshop CC is to bring it into Premiere Pro just like any other media. This works for JPEGs, PNGs, and other common image file formats too. Just make sure your file has a transparent background so you can superimpose the image over your video, if desired.
Select File > Import, find the file you want to import, and then click Import. The graphic file now appears in the Project panel (choose Window > Project to reveal it).
Drag the imported graphic from the Project panel to the Timeline panel and place it in a blank video track that’s above the existing video track. Play your video. The graphic will appear superimposed over the video.
Note: In Photoshop, there’s a way to import a file so that any changes you make to it will appear automatically in Premiere Pro. To find out more about this method, watch the “Add titles and graphics” video in Try basic video editing techniques.

There’s a good chance your imported graphic will be too large for the video. To fix that, right-click (Windows) or Control-click (macOS) the graphic’s clip in the Timeline panel and choose Set to Frame Size from the menu to resize it properly and center it within the video.
With the graphic’s clip still selected in the Timeline panel, double-click the graphic in the Program panel (above the Timeline panel) to reveal its blue bounding box. Now you can drag the graphic to reposition it within the frame or drag a corner handle to resize it.

From start to finish and anywhere between, you can add titles and graphics to your video project. Next, see what you can do when you add and adjust audio.
* Nguồn: Premiere Pro CC
Ý KIẾN THÀNH VIÊN