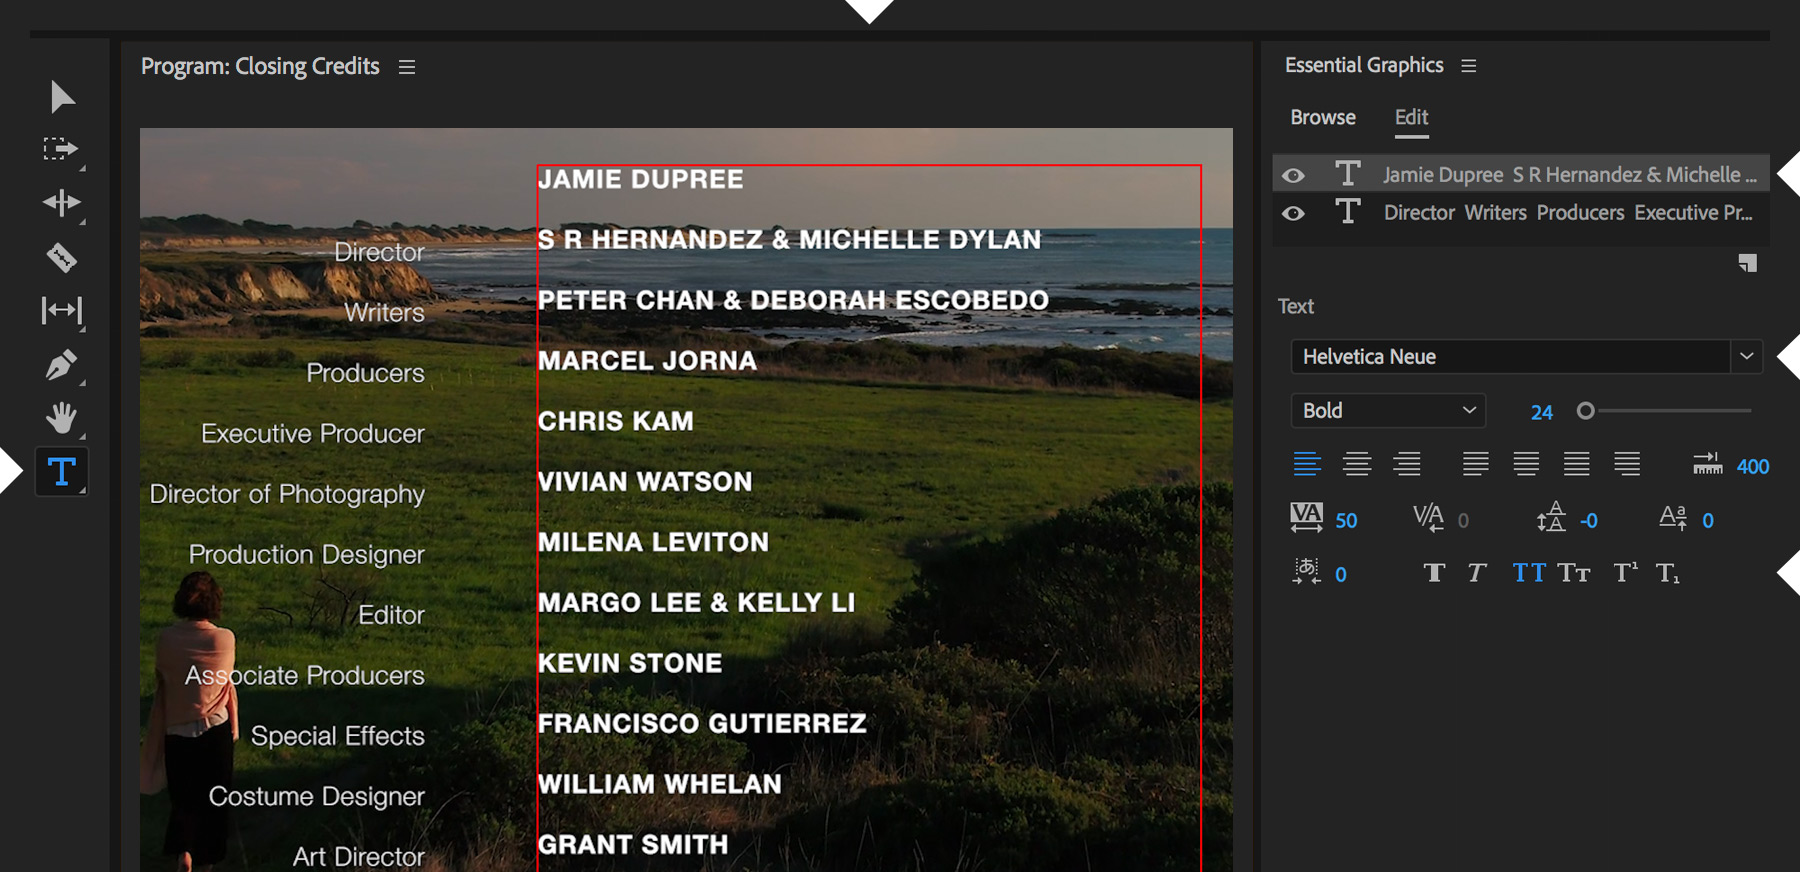
Following the traditional two-column design for a closing credit roll, we’ll style the crew’s job titles differently than their names. We’ve already placed the job titles on one layer in the title graphic, so you’ll want to place the names in a second layer. Starting in the Graphics workspace, click the Type tool, click once in the Program Monitor, and paste the personnel list from the names text file. Style the text so it’s easy to read but condensed enough to avoid long lines.
Animate closing credits in Premiere Pro CC
Explore the title creation tools in Adobe Premiere Pro CC to create your film’s closing credit roll.

What you'll need

Using the Selection tool, click both layers in the Essential Graphics panel and then click Align Top so that the job titles and names match up properly. If necessary, select each text container separately and adjust their horizontal positioning so that everything looks centered on the screen with a gap between the two.


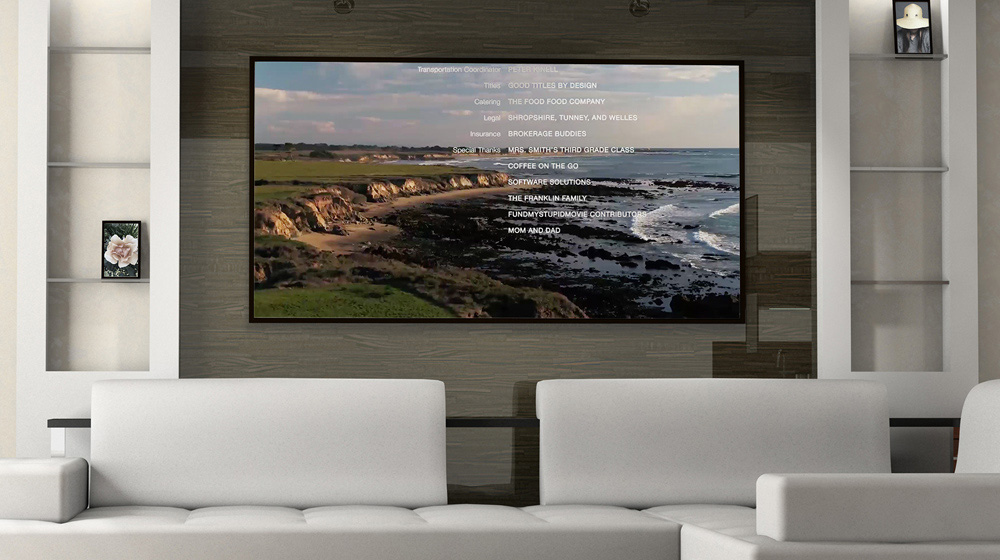
Play the sequence. The credits will begin offscreen and scroll all the way up till they’re offscreen again. Feel free to adjust the length of the graphic clip in the Timeline panel to change the scrolling speed of the credits.
* Nguồn: Premiere Pro CC
Ý KIẾN THÀNH VIÊN