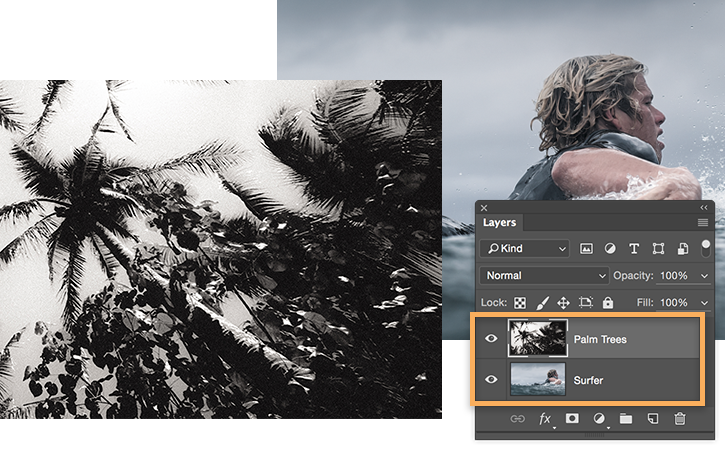
In Photoshop, create a new document. Drag two images from your computer into the document. Each image becomes a separate layer, which you can view in the Layers panel to the right of the working area. If it’s not visible, choose Window > Layers.
Composite images with blend and color effects in Photoshop CC
Jump in and experiment with blending two images together. We bet you’ll make something cool.


Select the top layer and open the Blending Modes pop-up menu within the Layers panel. Experiment with different blending modes on the top layer to see how they affect the bottom layer.
In this example, the Lighten mode causes the image of the surfer to show through the dark parts of the palm trees. Each mode will give you a different effect, so have fun trying each one to get an effect you like.

Select the bottom-most of the two layers and choose Image > Adjustments > Levels from the main menu.
Select Auto in the Levels dialog box. The dark and light areas of the image adjust automatically and give the image more contrast. Use the Input/Output sliders to adjust further. When you’re happy with the effect, click OK to apply the adjustment.

Choose Image > Adjustments > Hue/Saturation.
Experiment with the Hue, Saturation, and Lightness sliders to make the image as vibrant as you like. Click OK when you’re done.

You have used color and blending modes to combine images for an artistic effect. Now you can apply this technique to a variety of print and digital projects.

Original surf photography from the making of View From A Blue Moon, one of the most ambitious action sports film projects to date. See more at viewfromabluemoon.com.
* Nguồn: Photoshop CC
Ý KIẾN THÀNH VIÊN