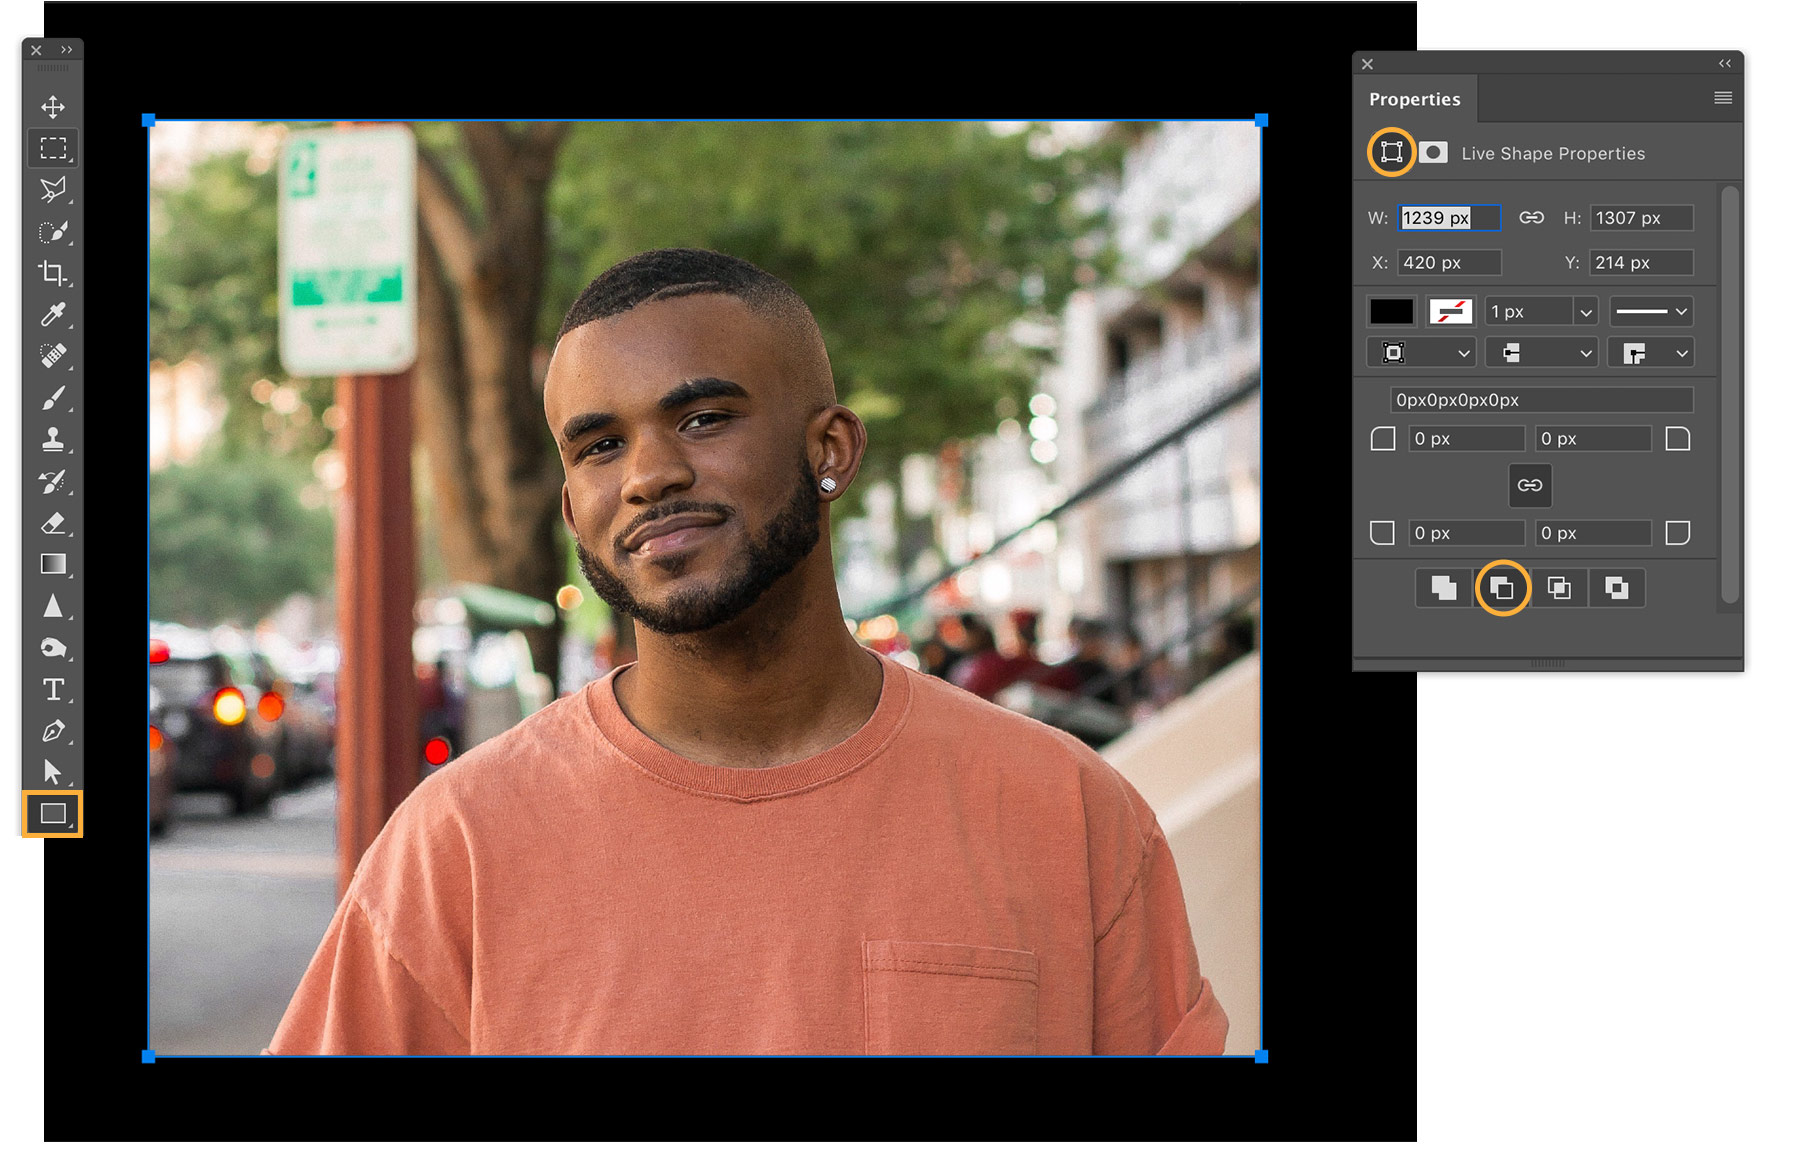
Open a photo in Photoshop. Feel free to use our photo for practice, or use your own. Choose the Shape tool and draw over the area of the photo you want to emphasize. Photoshop adds the shape on a new layer. We like the rectangle for this photo, but you can choose the shape you prefer. Choose Subtract Front Shape from the Properties panel (Window > Properties).
Create a photo vignette in Photoshop CC
Draw the viewer’s attention to the subject of your photo with a vignette in Adobe Photoshop CC.

What you'll need

To finesse the vignette, keep the shape layer selected. Then, click the Masks icon in the Properties panel and increase the Feather setting. In the Layers panel, you can adjust the Opacity on the shape layer to refine the vignette. Here are the settings we liked for this photo.

Fine-tune the overall composition by adjusting the color and placement of the vignette. With the shape layer still selected, choose the Shape tool and pick a color that blends well with the scene. Use the Move tool to reposition the vignette to focus on the subject.

See our final result below. With a few quick adjustments, we were able to make our subject the focus of the scene.


* Nguồn: Photoshop CC
Ý KIẾN THÀNH VIÊN