This sample file is an Adobe Stock asset you can use to practice what you learn in this tutorial. If you want to use the sample file beyond this tutorial, you can purchase a license on Adobe Stock. Check out the ReadMe file in the folder for the terms that apply to your use of this sample file.
Create wiggle paths in After Effects CC
Make lines oscillate by applying wiggle path animation effects to shape layers in Adobe After Effects CC.

What you'll need
Shape layers provide modifiers you can add to their paths to create some interesting distortion effects. You can offset them, trim them, wiggle them, distort them, and even combine these modifiers. You can use the Wiggle Paths modifier to create a waveform.
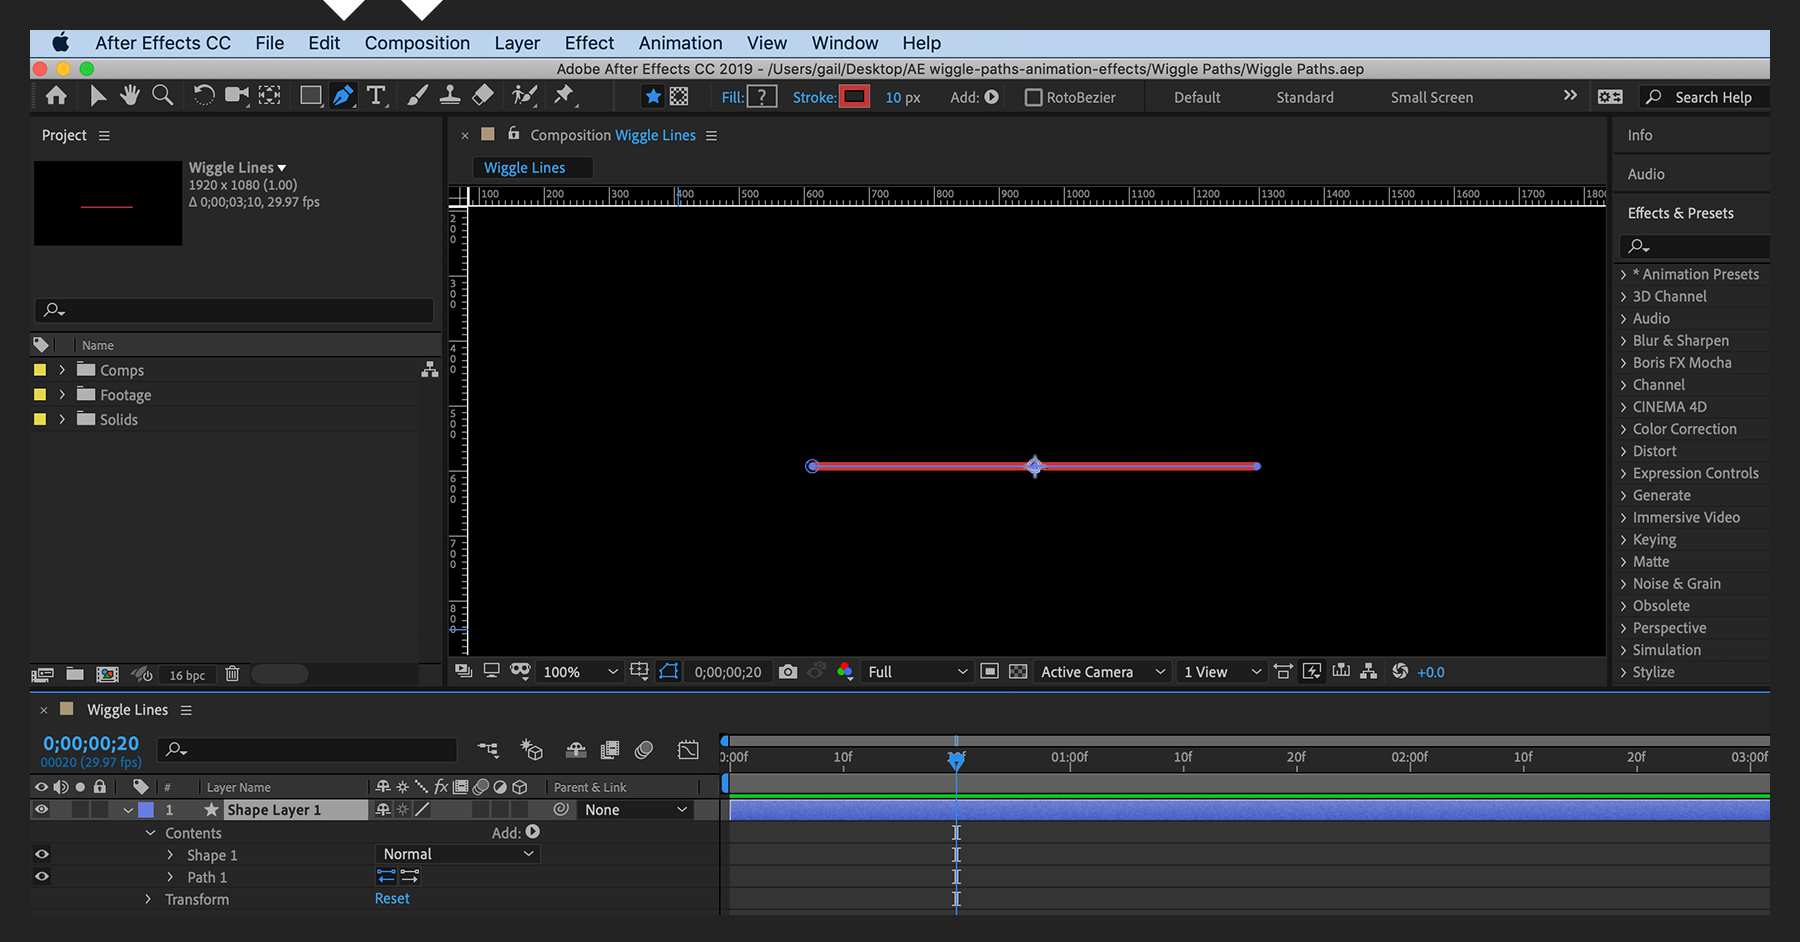
Starting out in a new composition (Composition > New Composition), select the Pen tool and then click in two places in the empty Composition window. Holding Shift constrains these points horizontally. This adds a shape layer to the comp consisting of a simple line.

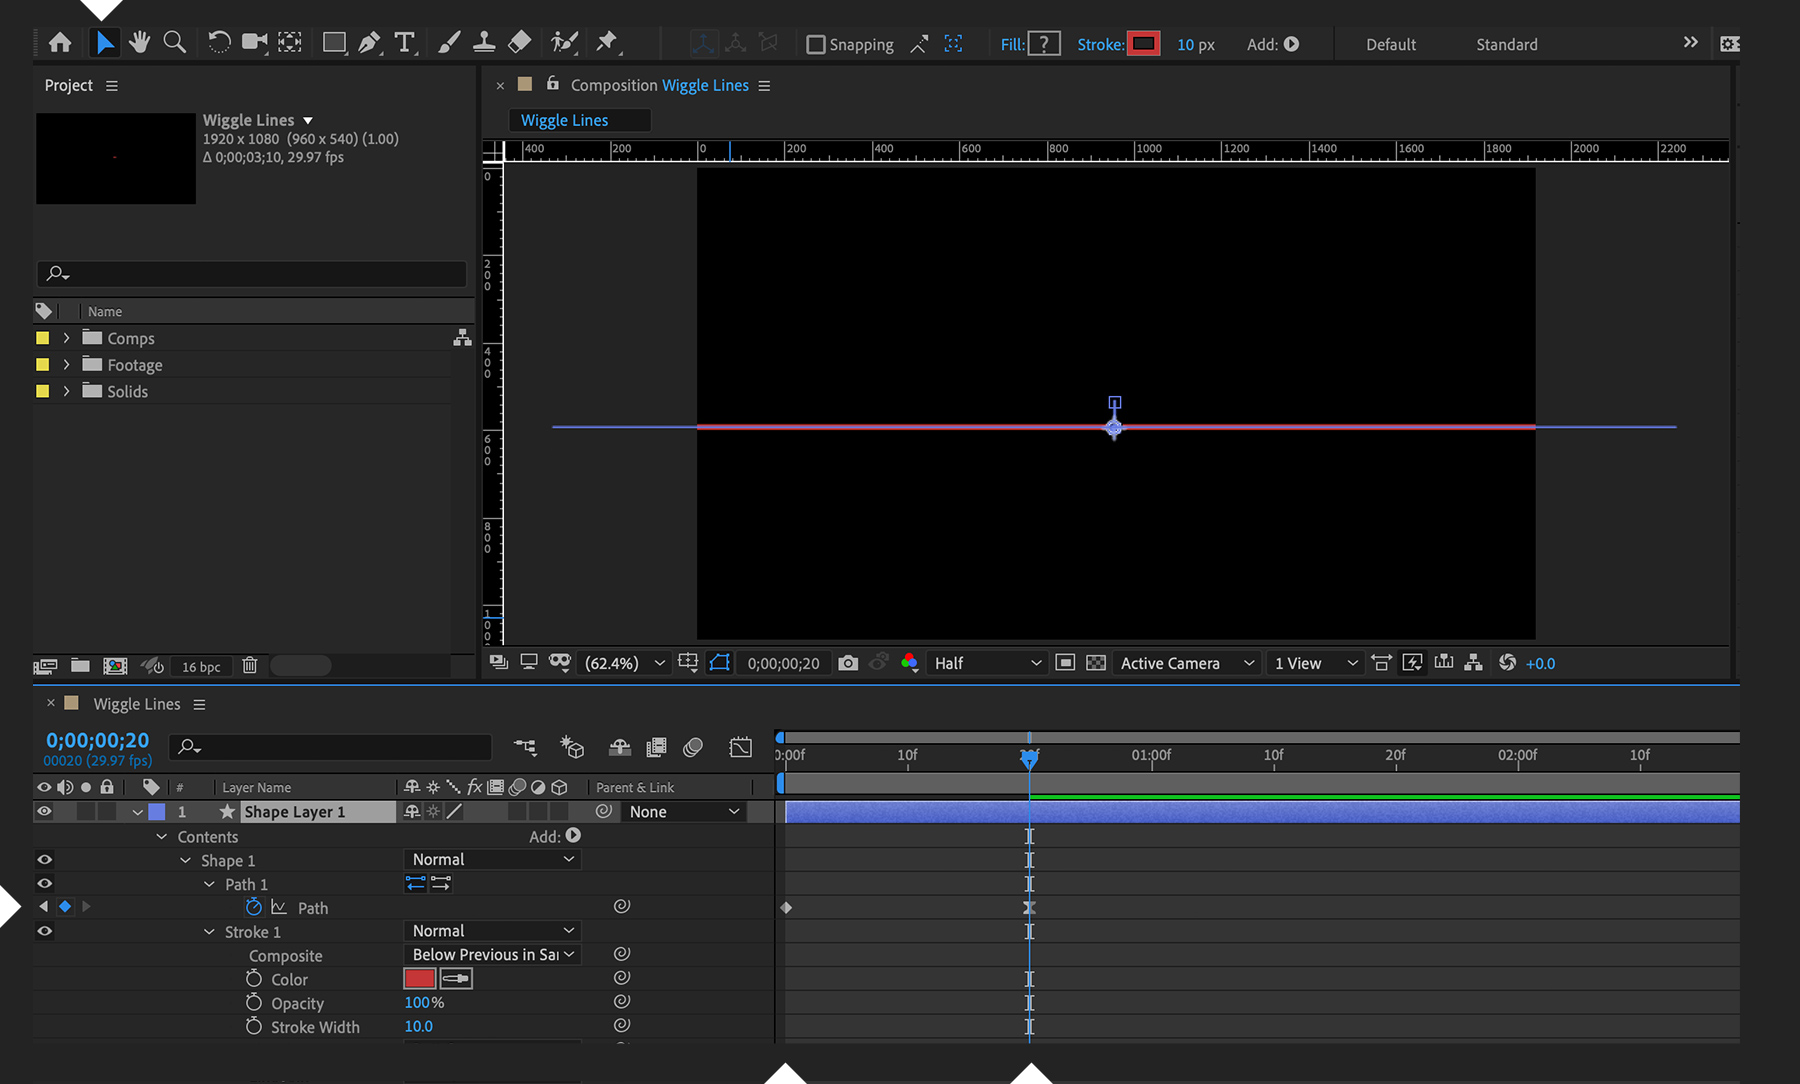
Animate the line by stretching it outward. In the Timeline panel, under Shape Layer 1, expand Contents > Shape 1 > Path 1. Set a Path keyframe at the start of the comp and then move the playhead to a later time. In the Composition window, modify the path’s length by activating the Selection tool (press V) and then double-clicking an endpoint so you can drag it left or right to extend the path across the frame. This will generate a second keyframe automatically. Preview your animation and see the line grow from a short segment to a longer one.

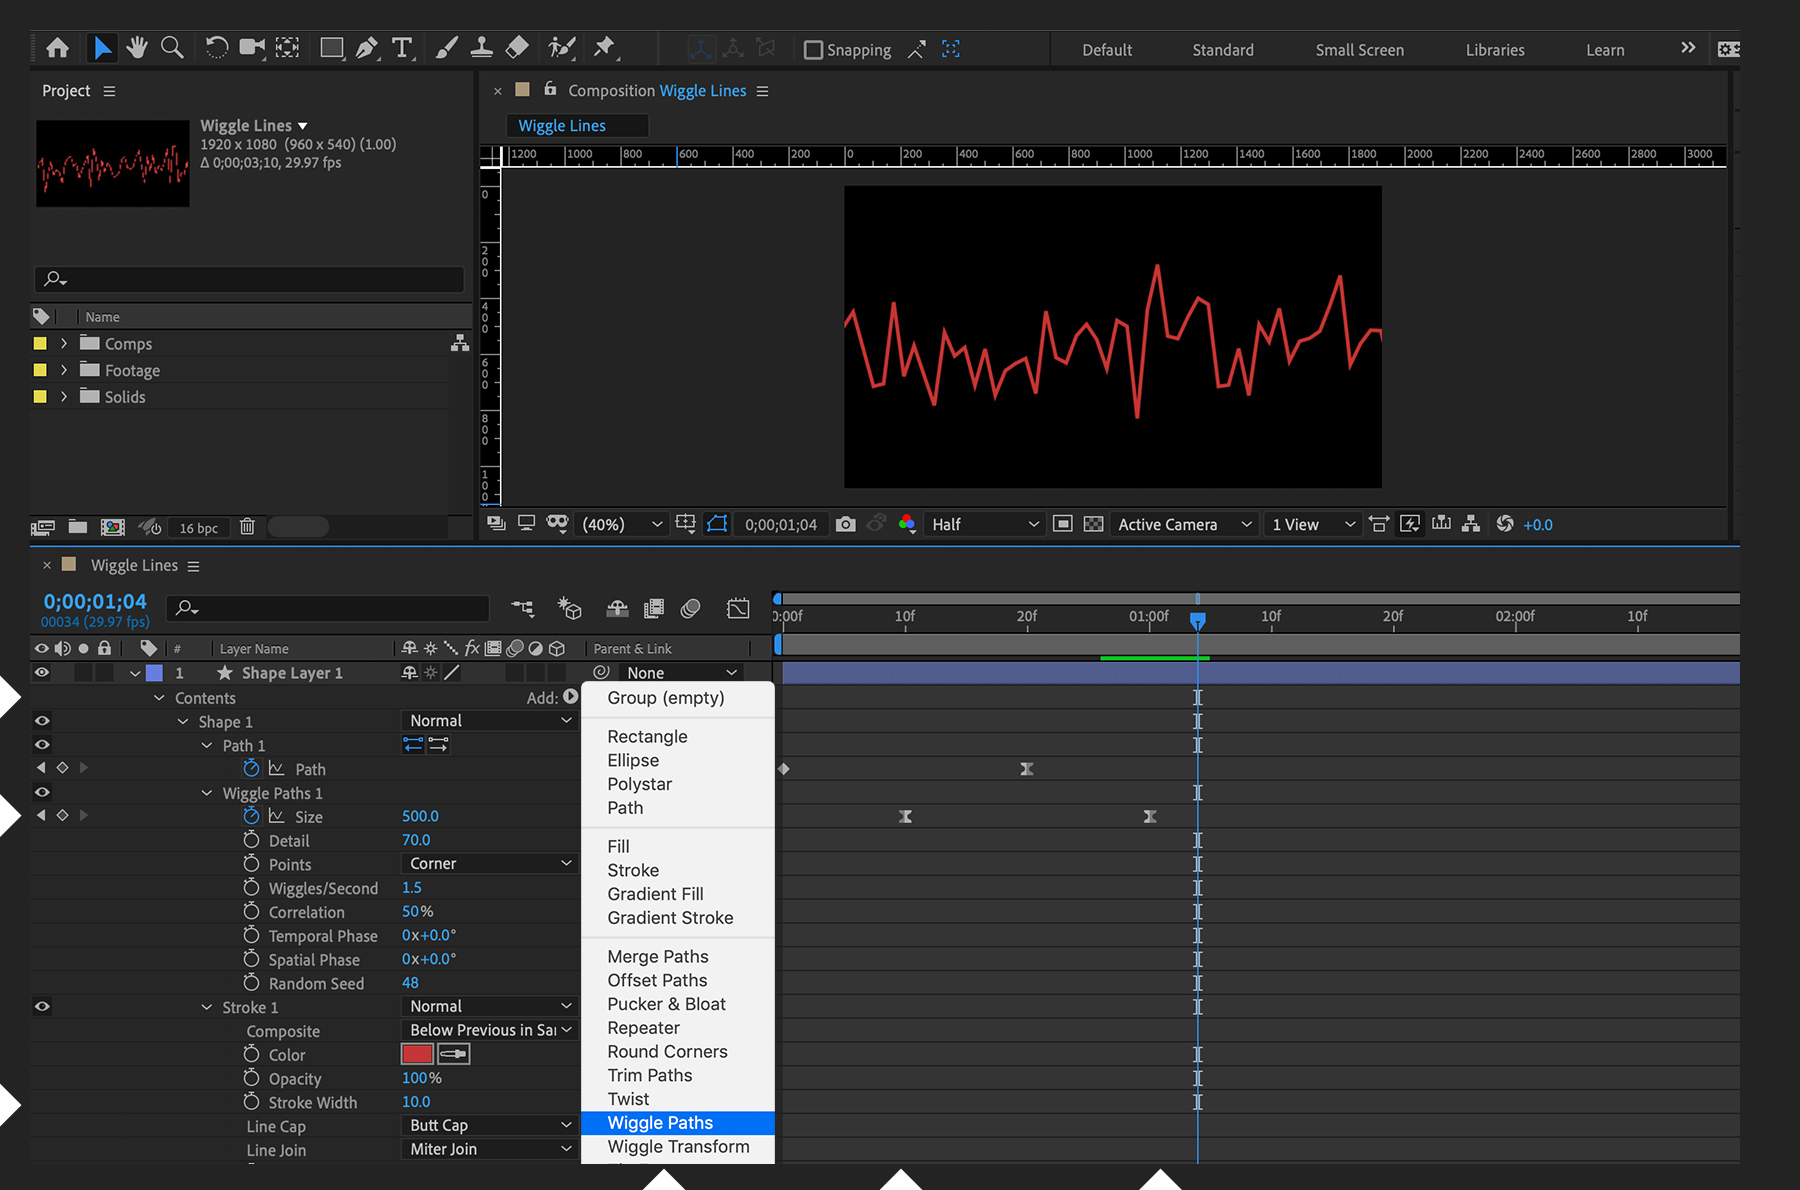
Back in the Timeline, delete (or turn off) the Fill, expand Stroke 1, and set Stroke Width as desired. Click the Add button on the Contents layer and choose Wiggle Paths from the submenu. Expand the new Wiggle Paths 1 option and play with the parameters until you see something you like. The Points option allows you to select a jagged (Corner) or rounded (Smooth) wiggle. With Wiggle Paths 1 expanded, set a keyframe on the current Size parameter. Go back to the beginning of the comp and set a Size keyframe at 0. Preview your animation and see the line grow outward and then increase in amplitude. If you move the starting Size keyframe later in the Timeline, you’ll delay the start of the wiggle animation.

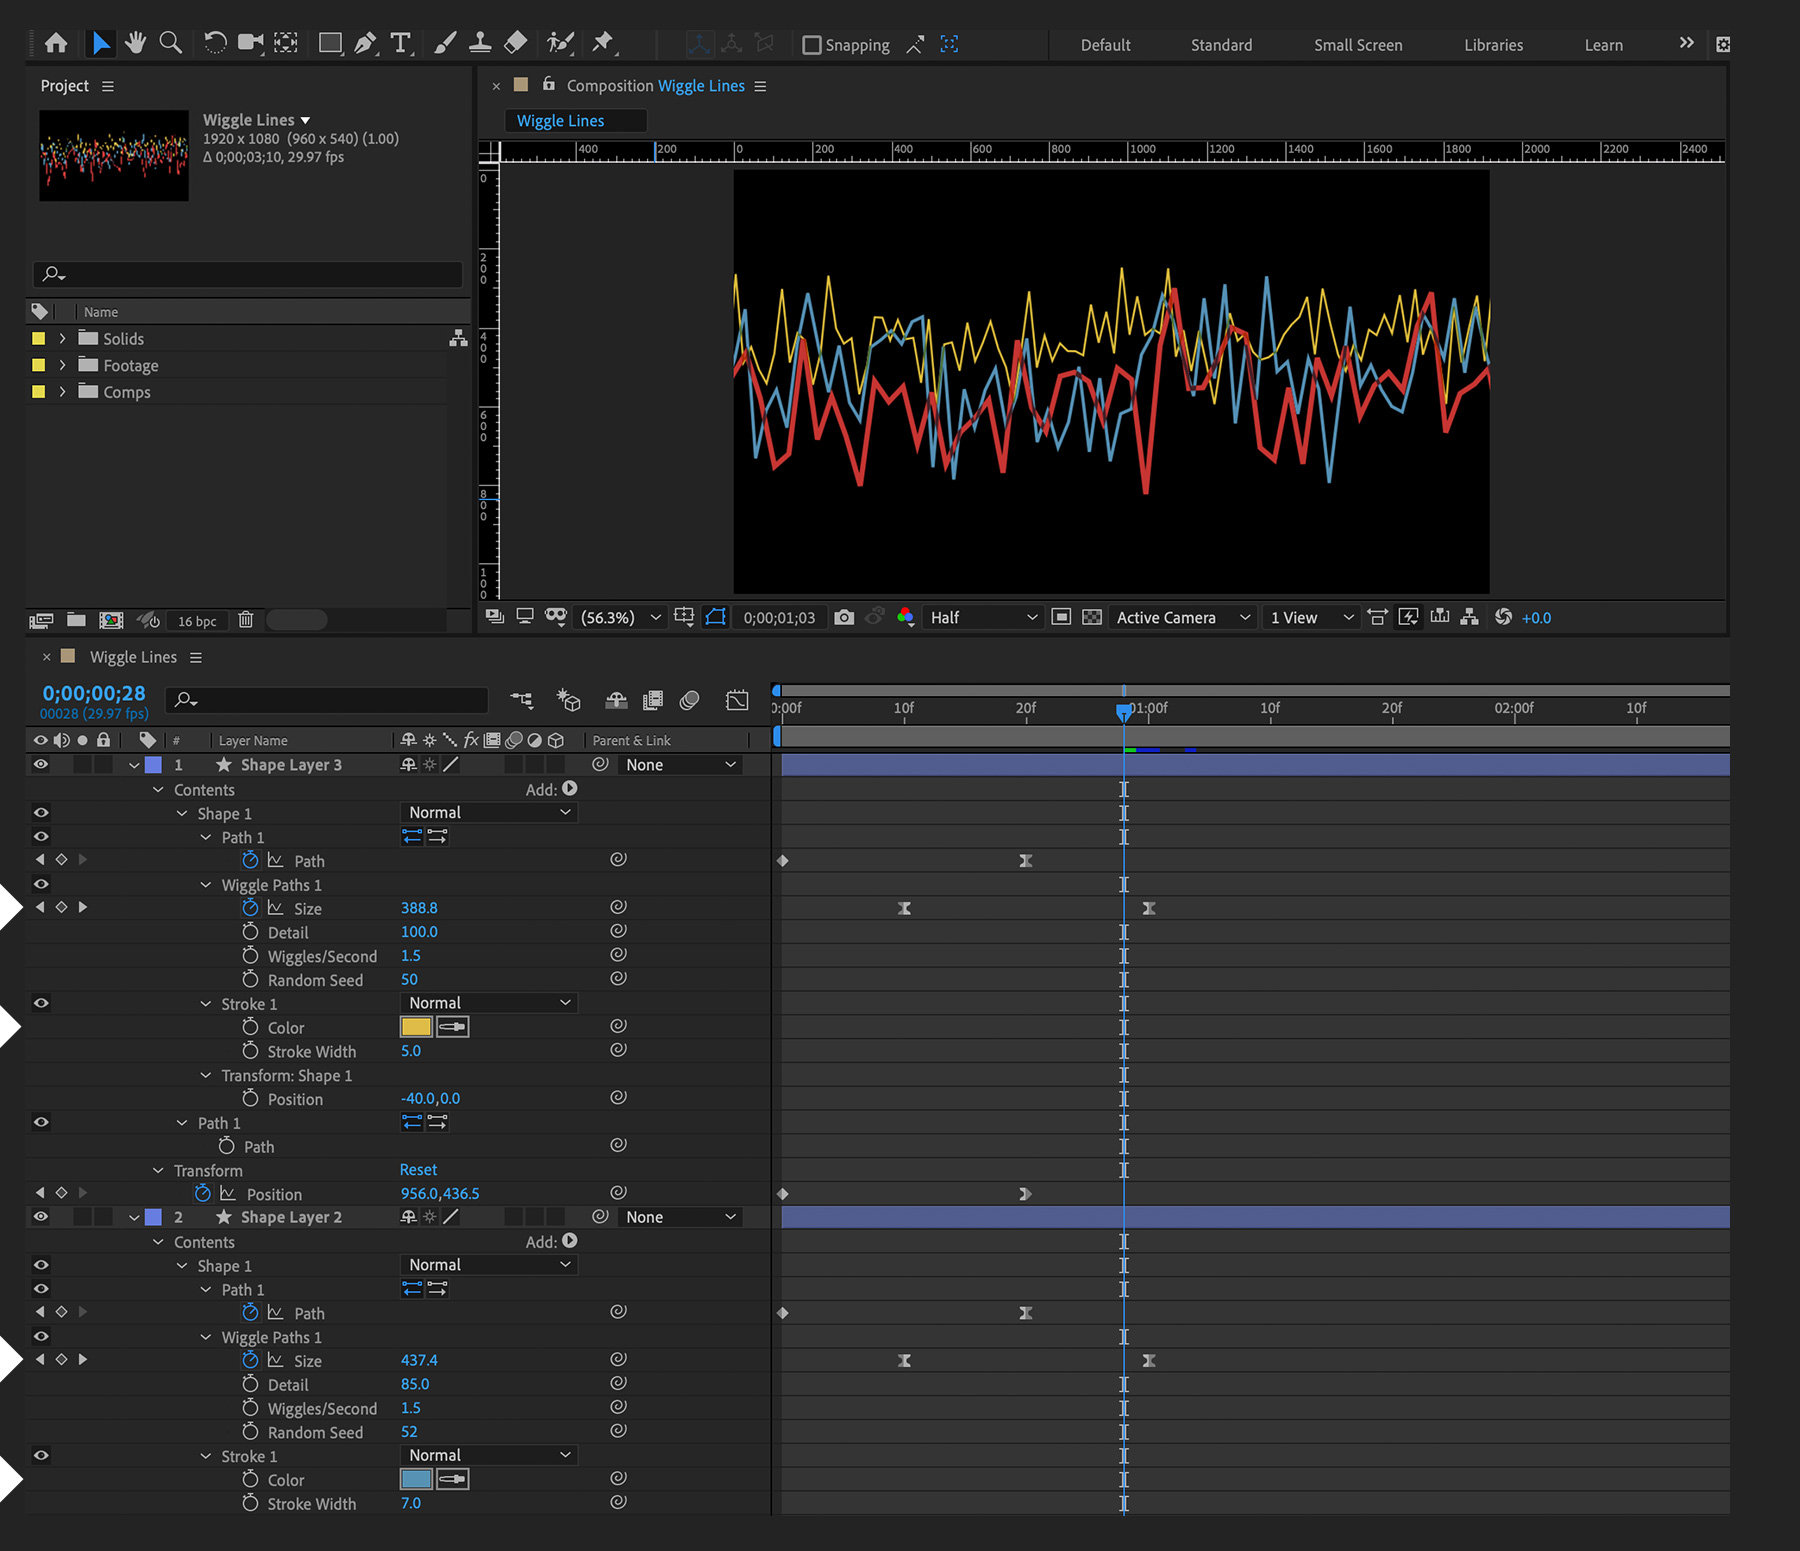
To show more than one wiggle animation, duplicate your shape layer a couple of times and then press UU on the keyboard to show all properties that have been modified. Make slight changes to the Wiggle Path sizes, Stroke colors, and so on of the shape layer copies, so the lines are distinct from one another.

To round out this composition, we decided to place our overlapping waveforms within a retro advertisement for a stereo turntable. After changing the shape layer modes to Multiply, we precomposed them, duplicated the precomp, and then applied a Fill effect to the bottom copy, setting the fill color to white and offsetting its position by a pixel or two to mimic the “knockout” effect used in offset printing. We placed a stereo turntable image on top of the paths, colorized it (Effect > Color Correction > Hue/Saturation), and added some Scale keyframes to zoom it up. We then dragged a scuff texture on top of the shape layers and dragged the background precomp to the very bottom. Finally, we added a vignette. See what we did here — and go ahead and create your own look using the sample file we’ve provided.
With Adobe Stock, you have access to more than 100 million high-quality, royalty-free images including photos, graphics, videos, and templates to jump-start your creative projects. Try Adobe Stock and get 10 free images.
* Nguồn: After Effects CC
Ý KIẾN THÀNH VIÊN