Typekit is now Adobe Fonts.
Design a t-shirt in Illustrator CC
Learn how to create an eye-catching t-shirt graphic using basic shapes and simple techniques in Adobe Illustrator CC. Kick-start your design with Adobe Creative Cloud mobile apps.

What you'll need
Download the practice files and open design-a-tshirt.ai with the latest version of Illustrator CC. Follow along to create a stylized boom box design with heart-shaped speakers.

Open the design-a-tshirt.ai sample file provided with this tutorial. Alternatively, launch Illustrator and click the Create new button or press Control+N (Windows) or Command+N (macOS). Select the Print tab, click the Letter preset, and then click Create. This opens a new document with the correct color mode and resolution for printing.

Press M to select the Rectangle tool in the Tools panel. Drag rectangles of various sizes to create the boom box design. You can change the dimensions of any rectangle by dragging one of the corner handles. To reposition any rectangle on the artboard, simply click the dot in the center of the rectangle and drag it to a new location.
Tip: As you drag the rectangles, look for magenta Smart Guides that help you align the shapes.

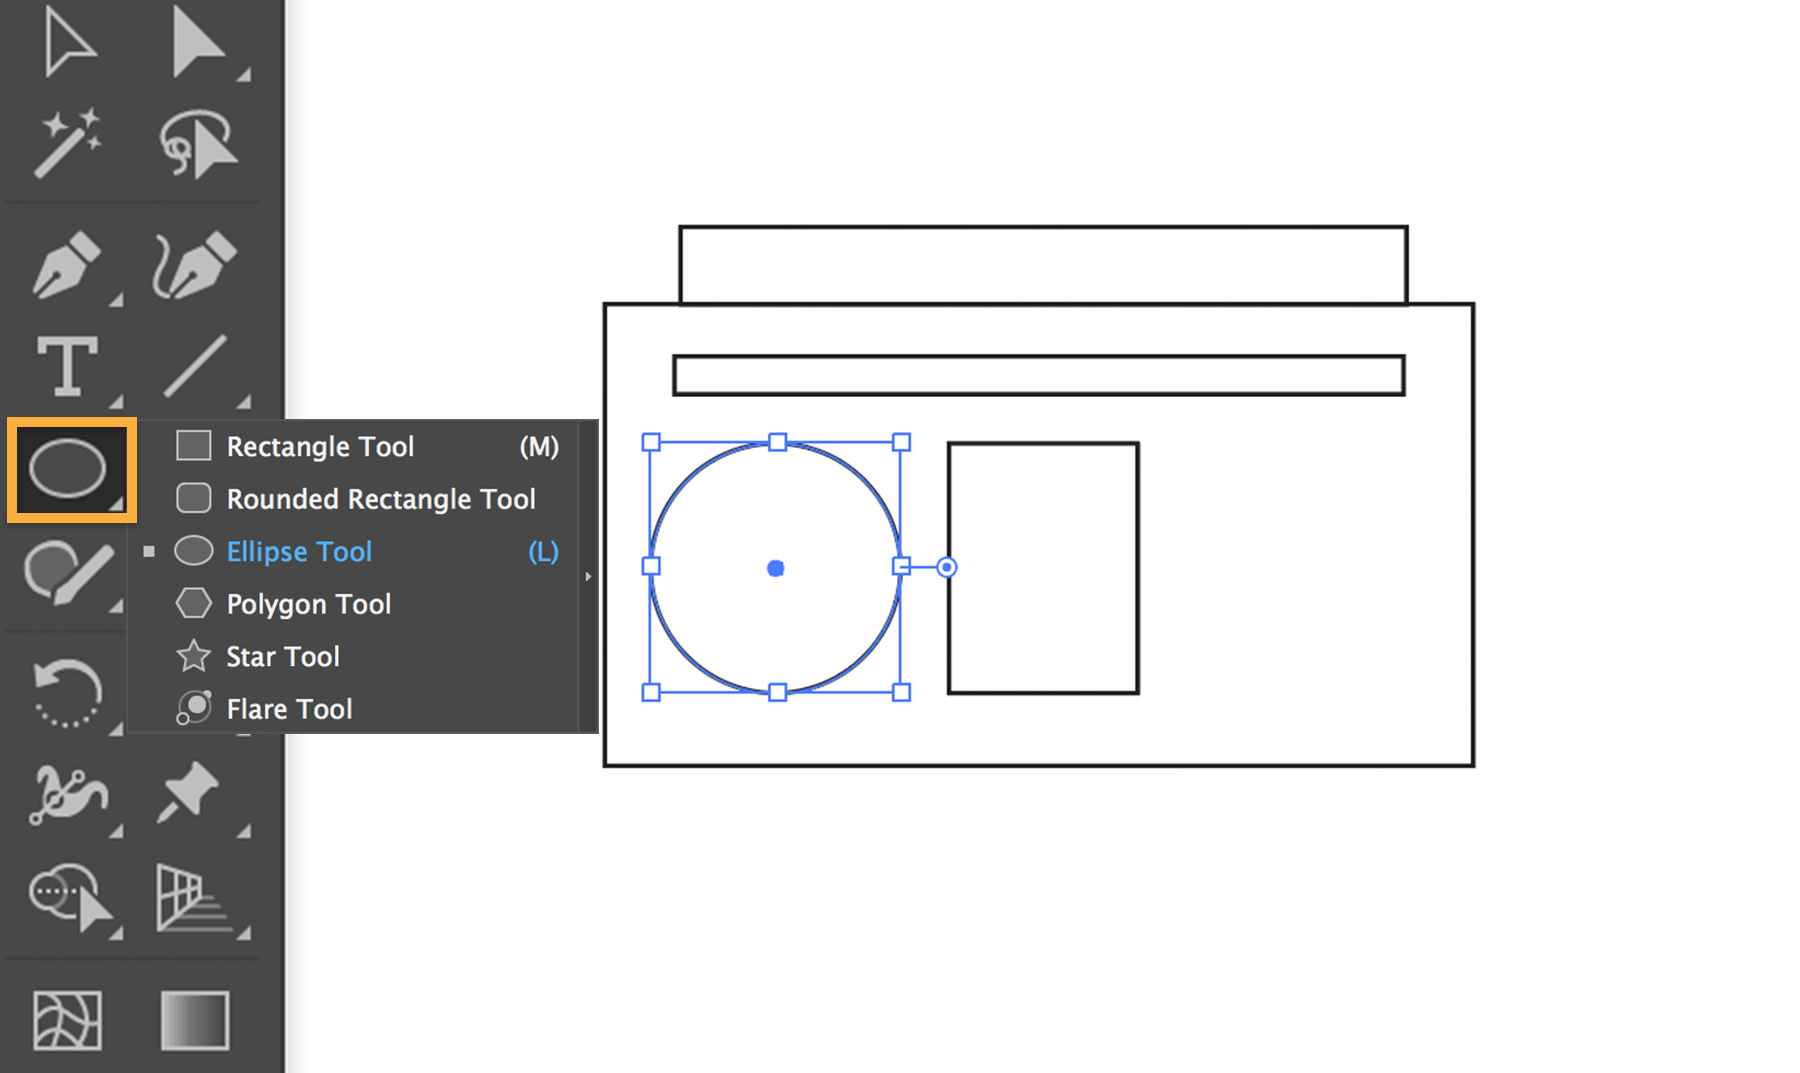
Now you’ll draw the speaker. Press and hold the Rectangle tool icon in the Tools panel to select the Ellipse tool. As you drag, look for magenta crosshairs that indicate a perfect circle. Or press Shift while dragging to constrain your shape to a circle. Drag its center point to position the circle on the left side of the boom box.
Select the Curvature tool and click to create four points on a different part of the artboard. This creates the left side of the heart shape. Press Escape after clicking the fourth point to finish drawing the path.
Press V to switch to the Selection tool, and then click on the path. Press Alt (Win) or Option (macOS) and drag the path to duplicate it. You can press Shift while dragging the duplicate path to keep the paths in alignment.

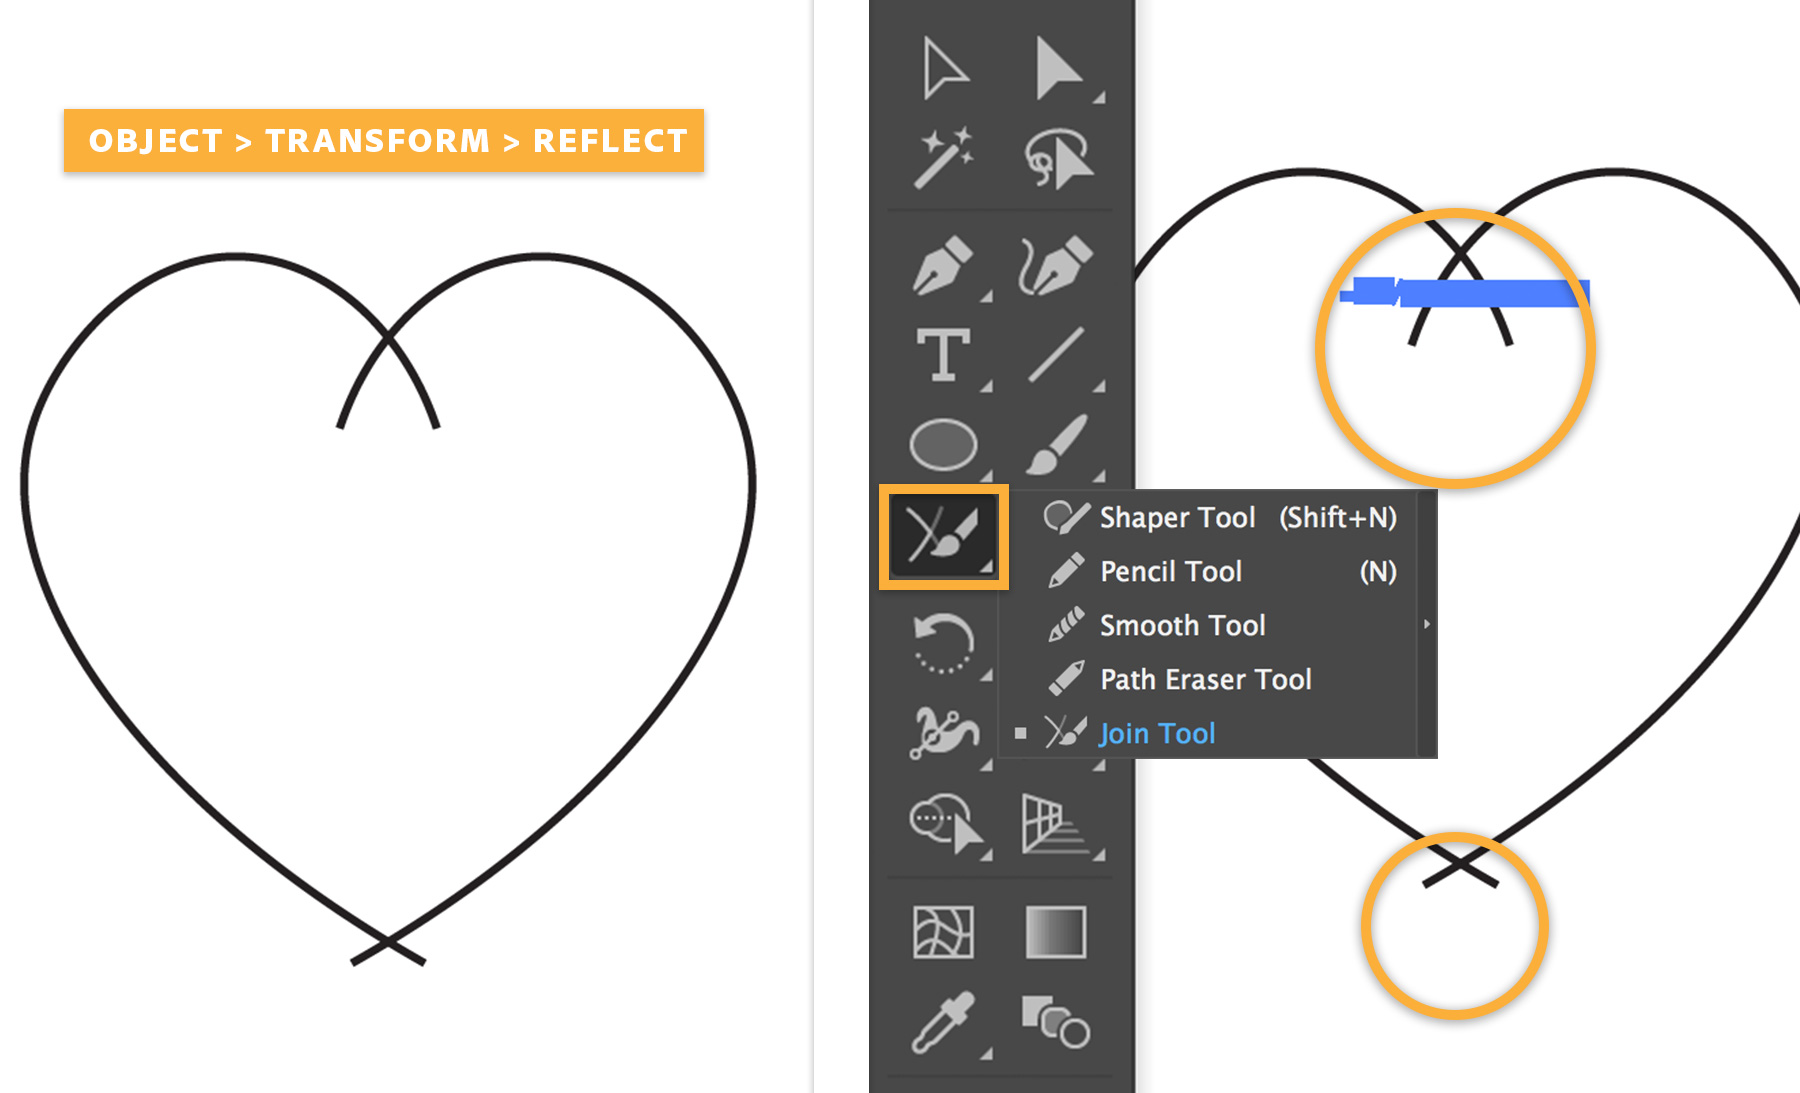
Choose Object > Transform > Reflect. Select Vertical to flip the path. Click OK.
Tip: Alternatively, you can simply click the Flip along horizontal axis icon in the Path section of the Properties panel to achieve the same result.
Press V to switch to the Selection tool. Press Shift and drag the right side of the heart so the two paths overlap. Press Shift and click the other half of the heart to select both paths.
Press and hold the Shaper tool in the Tools panel to select the Join tool. Drag the Join tool over the areas where the two paths meet to join them together. Learn more about joining and trimming paths.
Click an edge of the heart-shaped path with the Selection tool. Press Shift and drag a corner of the bounding box to resize it, and then drag the heart inside the round speaker. Press Shift and click the circle to select both shapes. Press Alt (Win) or Option (macOS) and drag both shapes to duplicate the left speaker. Additionally, press Shift to keep both speakers aligned.

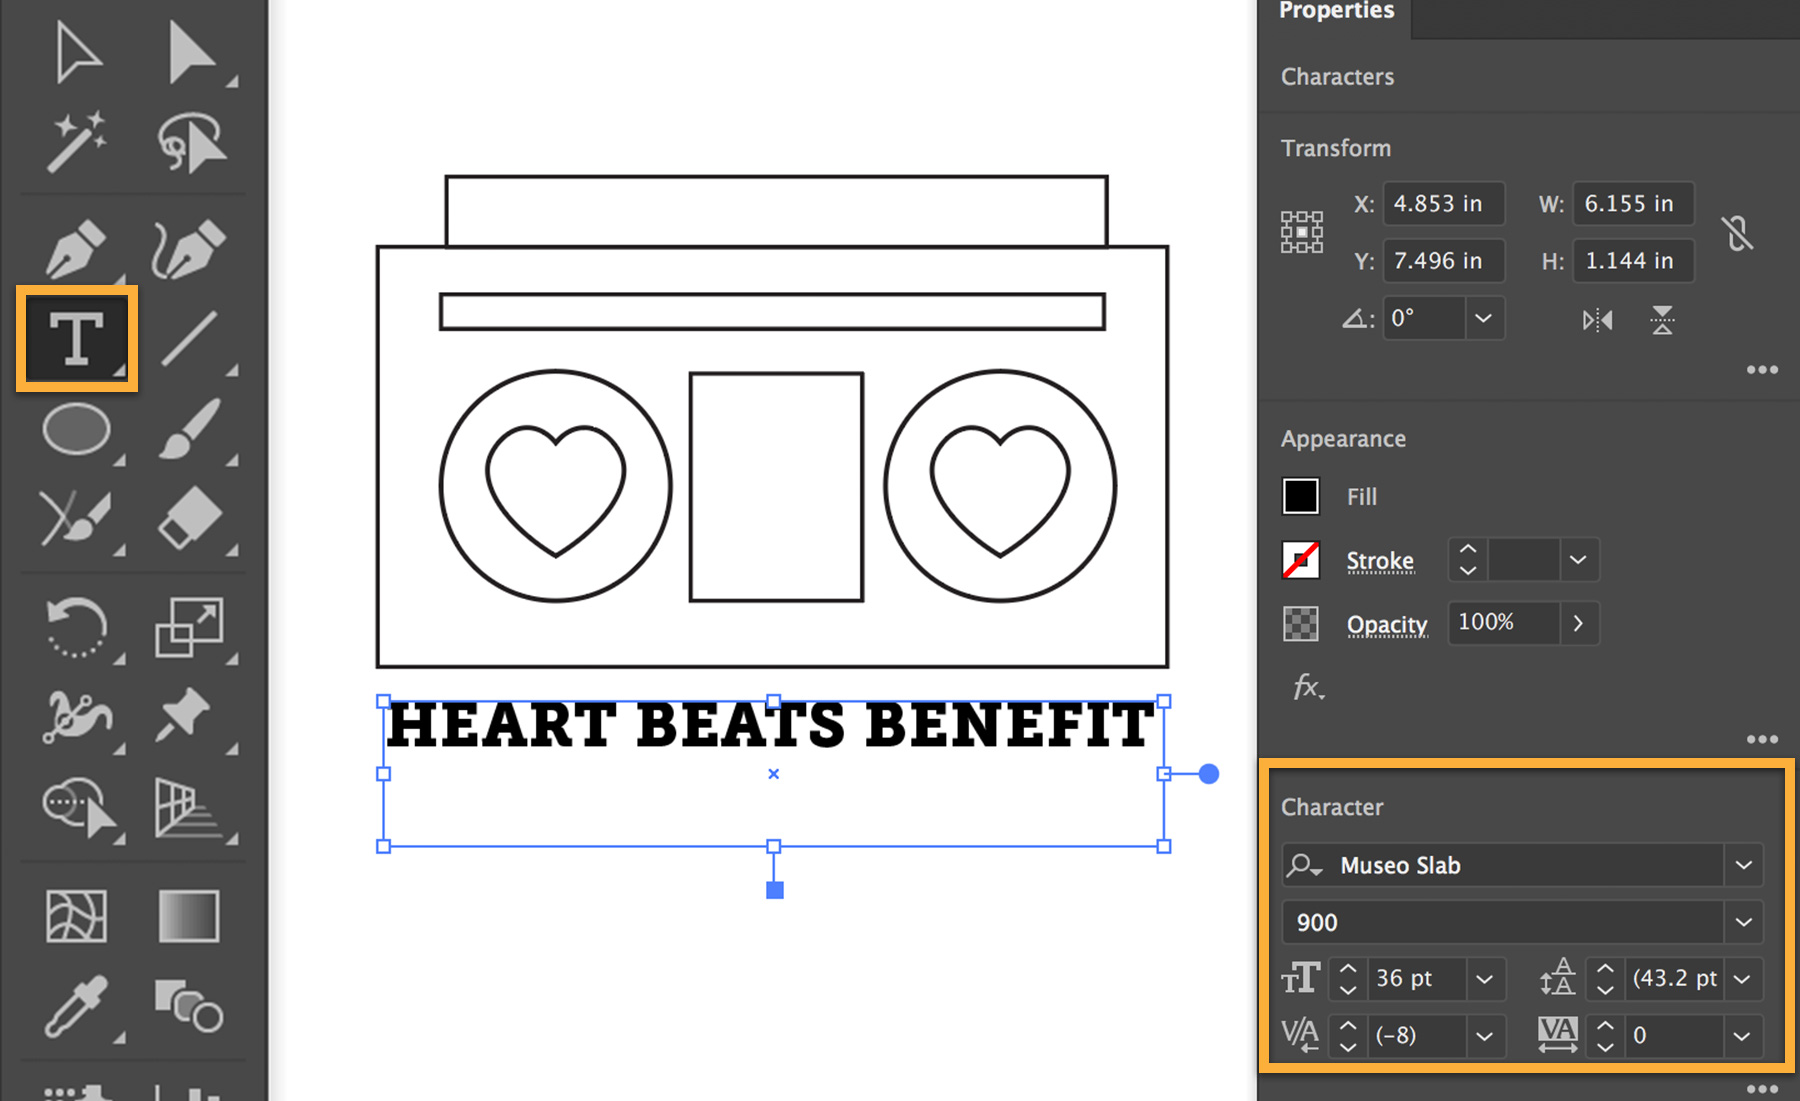
Next you’ll create a bold headline below your boom box. Type T or select the Type tool in the Tools panel. Draw a text frame below the boom box. Replace the default text with your own, and then triple-click to highlight your text. Click the Properties panel tab to view it. (Choose Window > Properties.) In the Character section of this panel, you can change the font, weight, size — even adjust the amount of space between the letters. See Set a beautiful title to learn how to set an eye-catching headline.
Creative Cloud members can choose from the vast library of high-quality typefaces in Adobe Typekit. Watch Tap into a library of available fonts to learn how to browse, sync, and access hundreds of high-quality fonts from Typekit — right inside Illustrator.
Tip: You can scale and reposition your headline just like you resized the heart in Step 4.
Press V to switch to the Selection tool, and then drag a box around the boom box to select it. Try changing the colors and the stroke (border) width.
Under Appearance in the Properties panel, select a larger stroke width from the menu.
To apply a custom color to the shapes, select a shape and click the Fill or Stroke icon in the Properties panel. Choose a new color from the Swatches panel.
Tip: Try setting the stroke or fill color to None to create interesting effects.

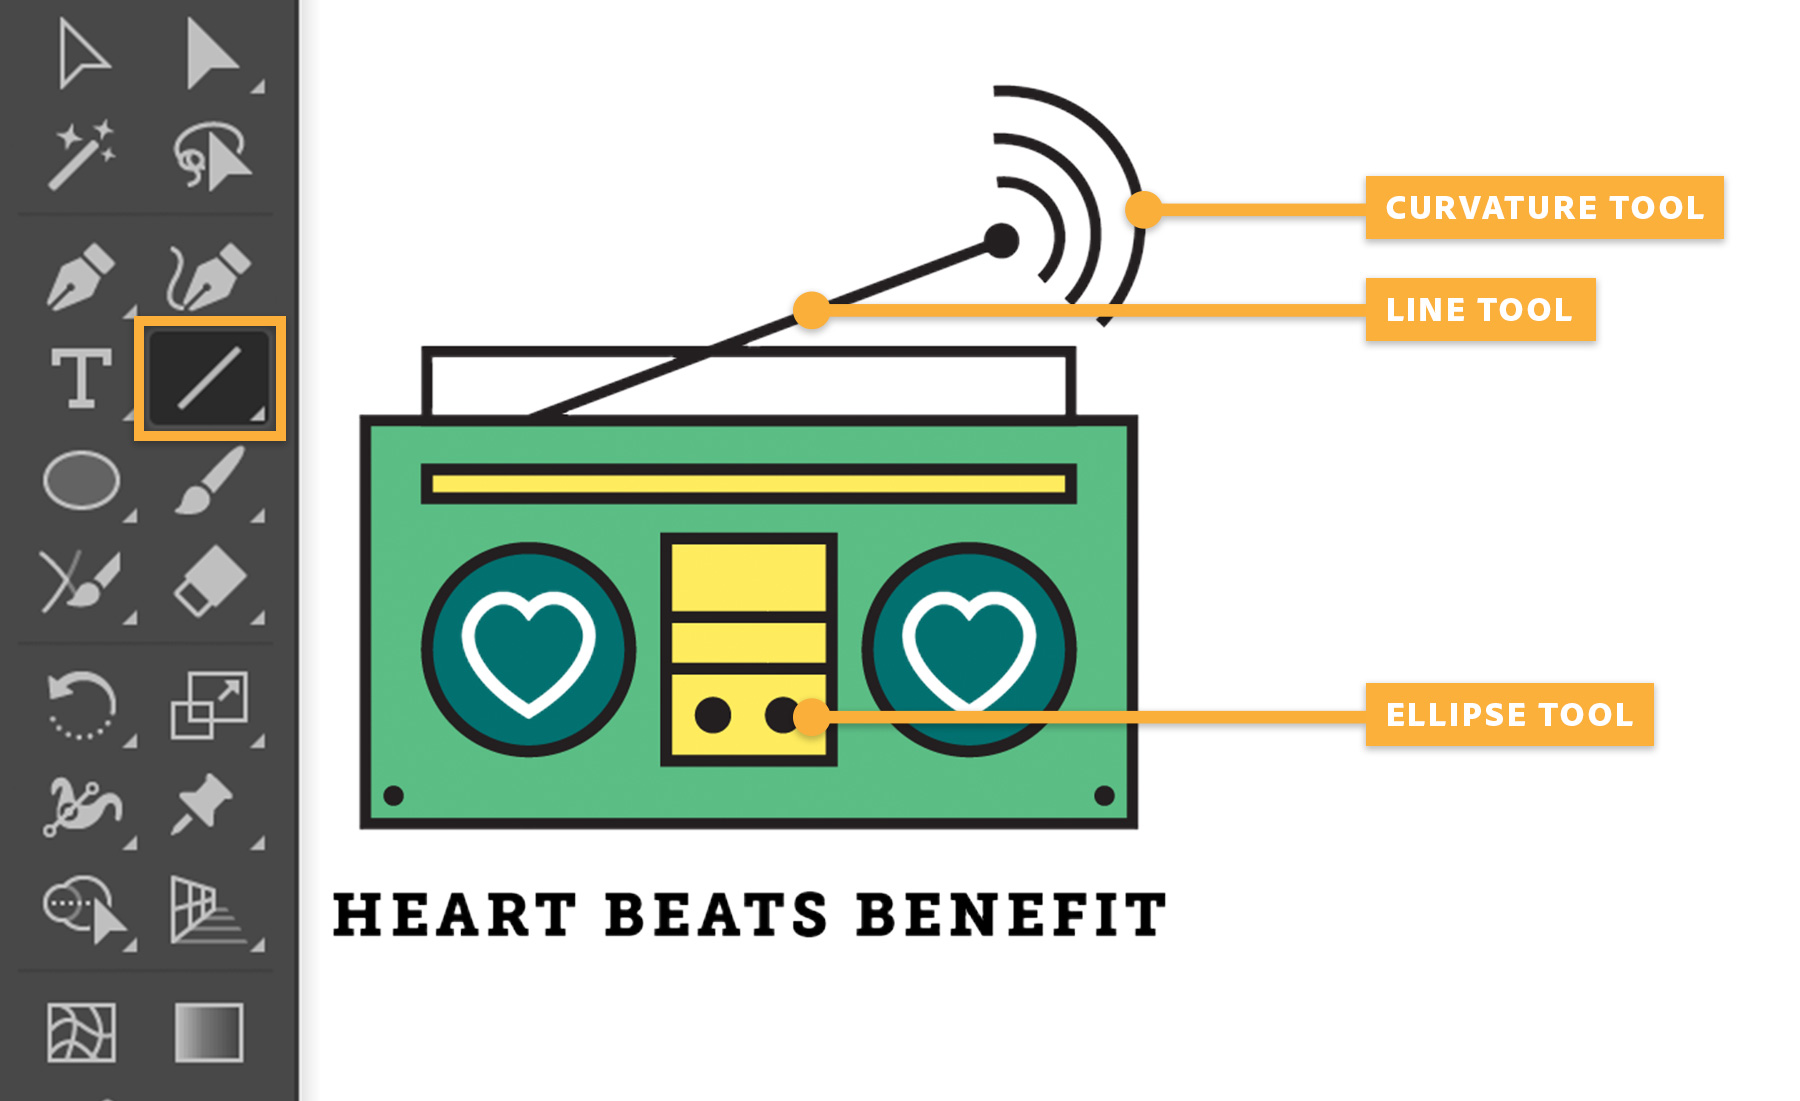
Now draw the antenna on the boom box. Using the Line Segment tool, click and drag a straight line as shown. Press Shift to draw perfectly horizontal or vertical lines. Use the other skills you’ve just learned to embellish your design.
Experiment with other design techniques. Use Adobe Capture CC to capture a shape with your mobile device and add a textured background.
Check out tshirt-inspiration.pdf included in the sample files folder to get more inspiration for customizing your design.

* Nguồn: Illustrator CC
Ý KIẾN THÀNH VIÊN