Fine-tune an image adjustment layer in Photoshop CC

Phạm Văn Siêng 24/09/2019, Cập nhật: 4 năm trước

Control which parts of an image are affected by your adjustment layer in Adobe Photoshop CC.


adjustment-layer_1800x1012


Adjustment layers give you greater control and flexibility over image edits than direct adjustments — you can make nondestructive adjustments to the colors and tones in your image, and keep editing the adjustment layers without permanently changing the pixels in the image. Not happy with the adjustments you made? No problem — just hide or discard the adjustment layer to return to the way the image looked originally.

Watch Learn about adjustment layers to get the basics.
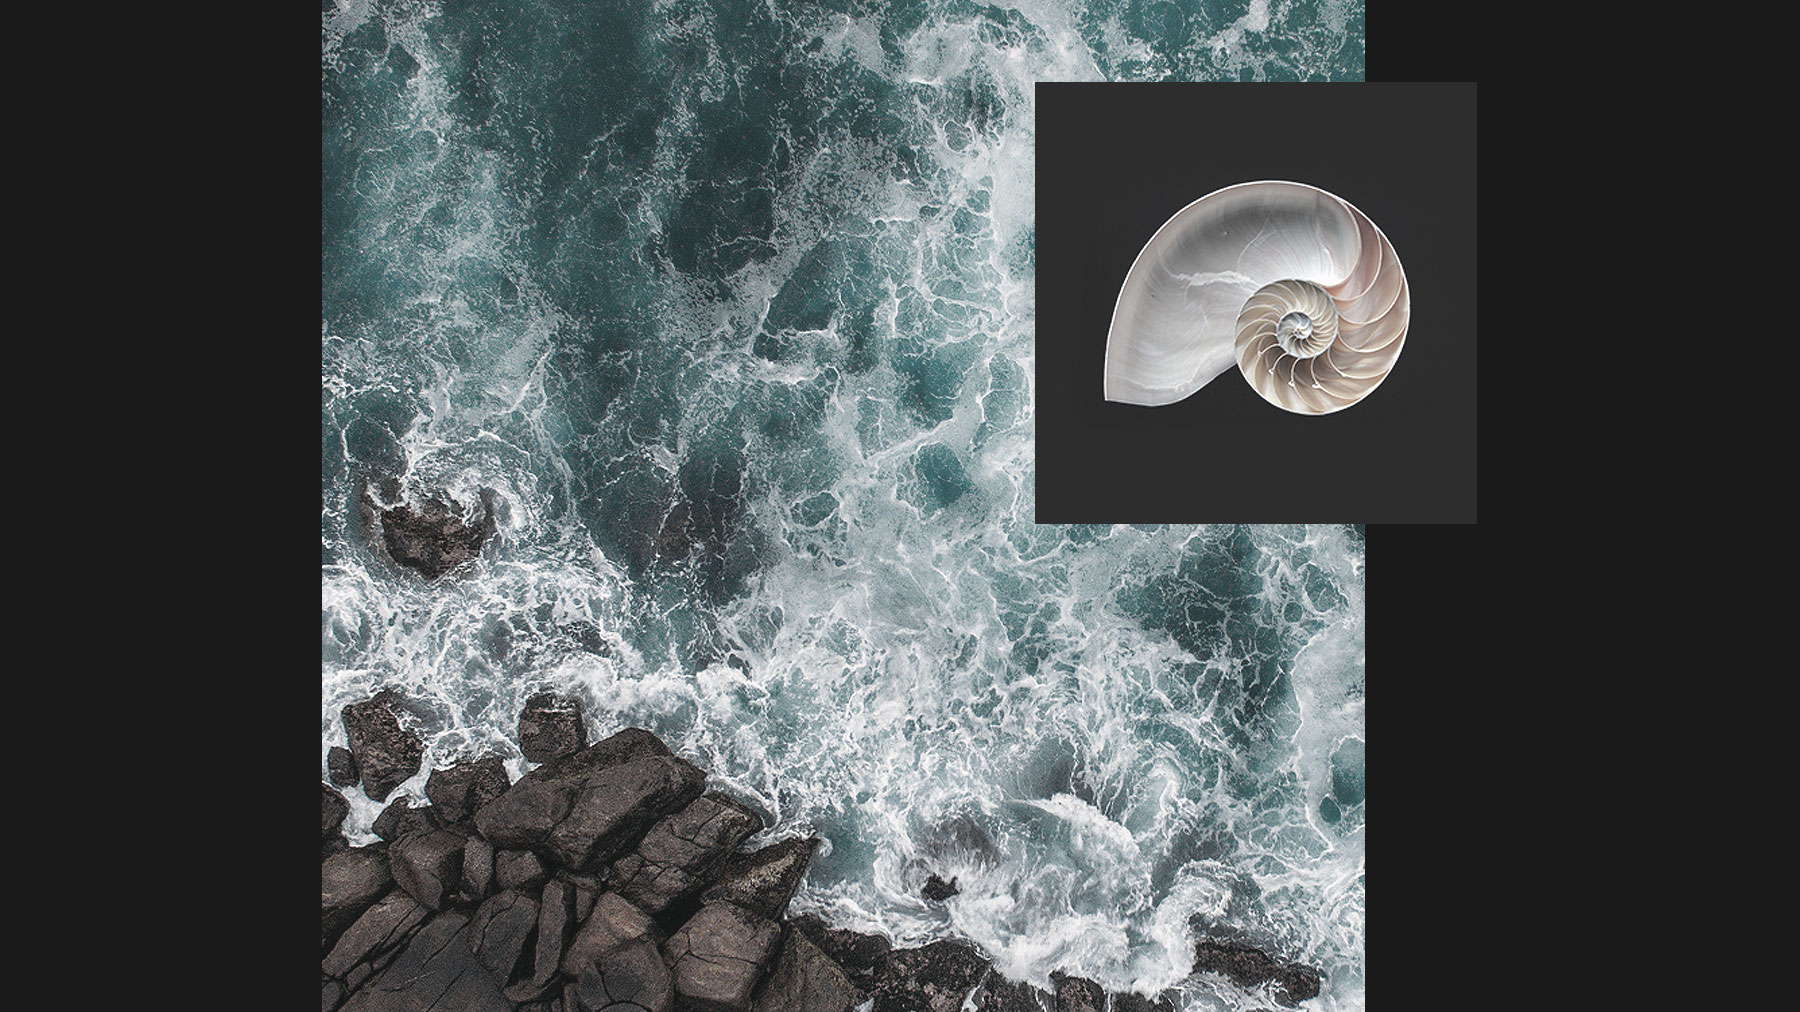


Control which layers are affected by your adjustment layer


By default, an adjustment layer affects all layers beneath it in the Layers panel. In our example, we applied a Hue/Saturation adjustment layer to desaturate our entire composition made up of two layers.

View Adjust hue and saturation to learn more about Hue/Saturation adjustments.


adjustment-layer_step-1


You can make an adjustment layer affect a single layer that’s directly below it in the layer stack.

Make sure you’re viewing the Properties panel, or choose Window > Properties. With the adjustment layer selected in the Layers panel, click the Create Clipping Mask icon at the bottom of the Properties panel to apply the adjustment to just the layer below it. 


adjustment-layer_step-2


To make the adjustment layer affect all layers below it, select the adjustment layer and click the Create Clipping Mask icon in the Properties panel again. 


Make an adjustment to selective parts of an image


Every adjustment layer includes a layer mask. When the layer mask is white, it reveals or applies the adjustment to the entire image. When you add black to the layer mask, it hides or masks the adjustment from corresponding parts of the image.

In our example, we selected part of the composition and filled the corresponding area of the adjustment layer mask with black. This confined the desaturated effect to areas of the image that are white in the mask.


adjustment-layer_step-3


Vary your adjustments


Use any painting tool to paint on the adjustment layer mask in shades ranging from white to black. This applies the adjustment at different strengths — at full strength (through white areas of the adjustment layer mask), partially (through gray shades), or with the effect hidden completely (black).

We made a couple of tone and color edits to the bottom layer:

After adding a Hue/Saturation adjustment to desaturate the entire scene, we added a Brightness/Contrast adjustment and lowered the brightness and contrast to achieve the desired effect. (See Before image.) To keep the rocky areas from appearing too dark, we painted over them with gray on the layer mask with a large, soft brush. (See After image.)


adjustment-layer_step-4


Hope you had fun; keep practicing with your own images.


* Nguồn: Photoshop CC

Phạm Văn Siêng 24/09/2019, Cập nhật: 4 năm trước
Ý KIẾN THÀNH VIÊN
    Chưa có bình luận