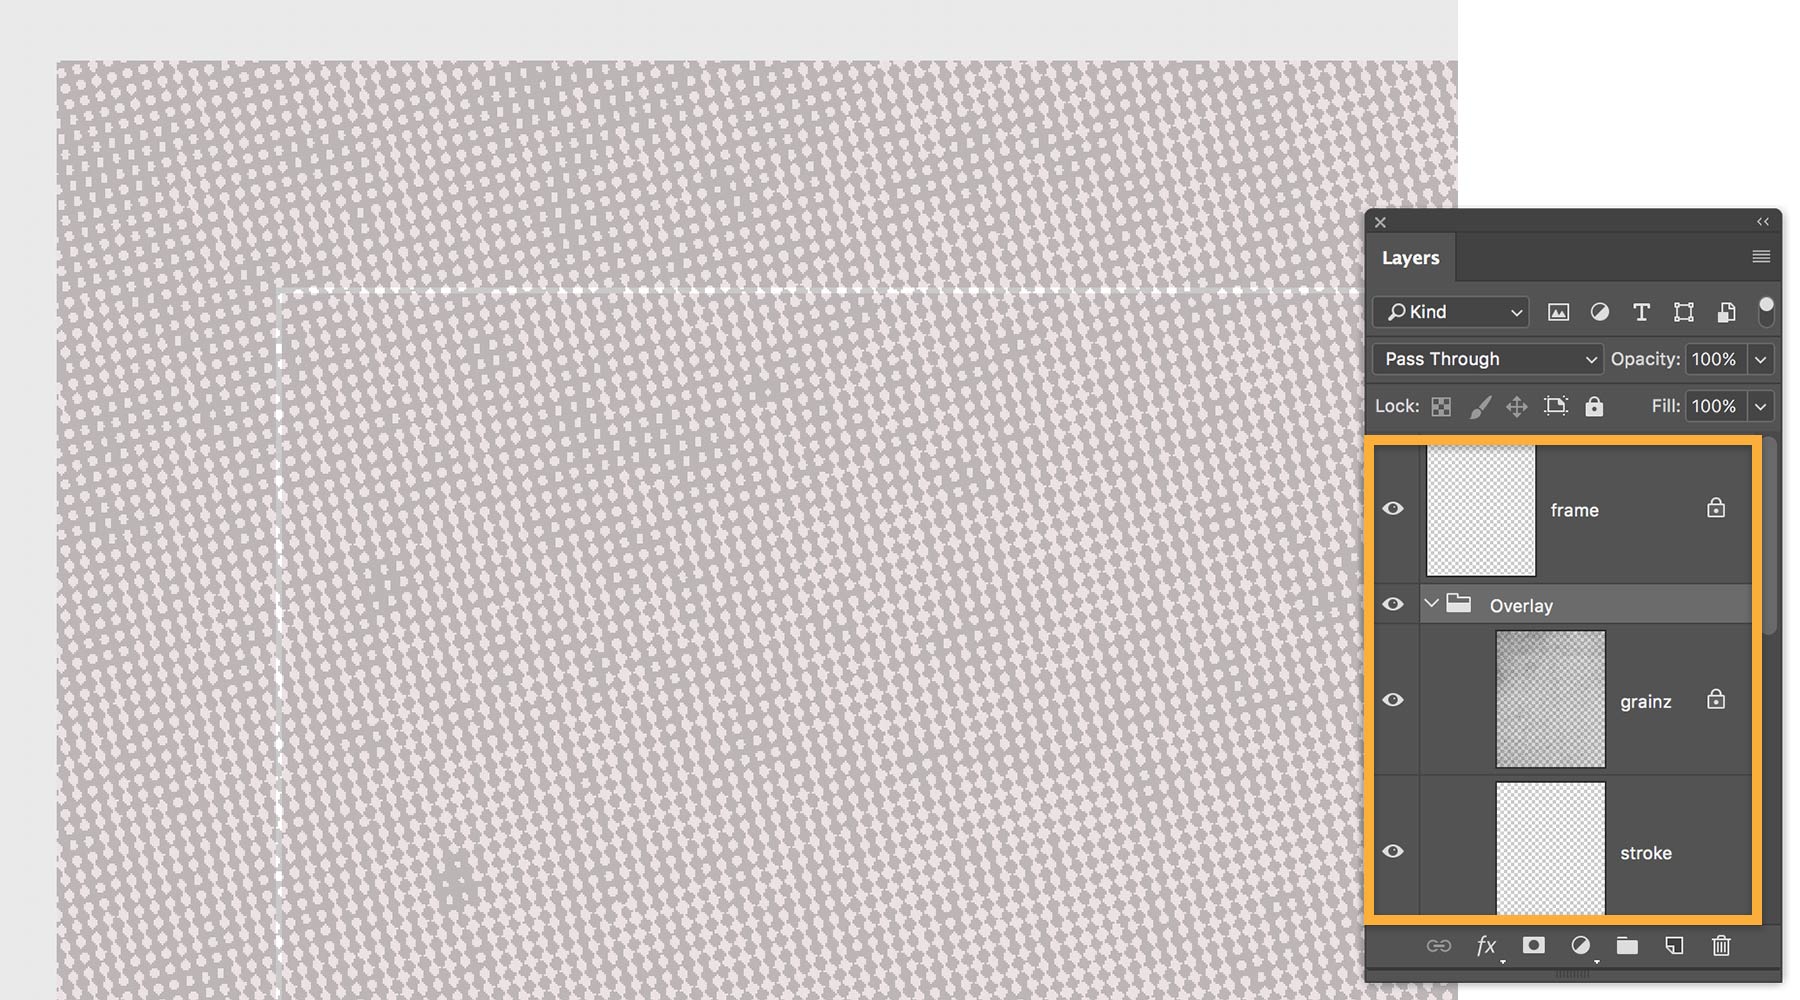
Molly starts the project by creating a large canvas to work on — 11x14 inches for this collage. She adds texture to the composition by importing a scanned halftone dot pattern to its own layer, setting the layer Opacity to 30% and the Blend Mode to Overlay.
How Molly Scannell created “Taken” in Photoshop CC
American artist Molly Scannell doesn’t always know the story her work will tell until she creates it. She starts with images she finds inspiring, then slices and repositions them into a collage that reveals the story through lighting and angles of the eyes. The secret of her work lies in creating multiple layers, positioning the pieces, and then applying transparency and layer styles to create her compositions.
To create a narrow white border, she sets the size of the imported pattern to be slightly smaller than the canvas. She also adds a rectangle with a thin, white stroke to complete the frame.

Now she begins her photo compositing. For this project, Molly has several poses of the model. She starts by importing three photos onto separate layers. Then, she uses the Polygonal Lasso tool to cut the images in different ways.

Molly then pastes the cuts onto new layers and repositions them to experiment with different design options. She combines the cuts into a layer group and sets the Blend Mode to Pass Through so that any adjustments she makes in the group affect the layers below.

Molly chooses an acid yellow from the Color Picker, then uses a narrow brush to trace a portion of the hairline and neck to add a pop of color to the composition.

Molly scans a title page with an old-style typeface and imports it to its own layer. Then, she uses the Rectangular Marquee tool to select parts of the text she wants to use for the collage and pastes them into their own layers.

She moves a section of text to the top, adjusts the layer’s Brightness and Contrast, and sets the Blend Mode to Divide to eliminate the background and invert the type color for contrast.

Molly takes another part of the text and rotates it in the composition. She sets the Blend Mode to Subtract, which creates a negative effect so the text is transparent and the background is black.

To add some visual interest to the collage, Molly imports a photo of a skyscraper and sets the Blend Mode to Soft Light. Then, she moves the new city layer to the base of the ear so it aligns precisely with the model’s neck.
She drags the city layer to the Create new layer icon in the Layers panel to duplicate the layer while maintaining the blend settings. To blend the building into the chin, Molly selects the Eraser tool and lowers the opacity. Then, she brushes inside the chin until the blend is seamless.

By the end of the project, Molly has created many layers. She continues to experiment by hiding, showing, reorganizing, and adjusting the opacity of each layer until she’s happy with the composition.

|
|
 |
About the artist: Molly Scannell finds freedom in collaging. She discovered the art of collage in high school and started working with cut paper shapes. She has since fine-tuned her skills as a digital collage artist and engages in collage mostly as a hobby and form of meditation.
When Molly landed her first job in New York City, she had to move on from the world of mechanical pencils and sketch pads and quickly learn Adobe Photoshop and Illustrator on her own. Nowadays, Molly lives just outside Boston and works as a freelance designer with a focus on digital design and illustration. She has an impressive list of clients in her portfolio including Tivoli, Mopar, Chrysler Group, ING, Sunglass Hut, Smithsonian, and CBS. Outside her professional life, Molly enjoys getting her kids involved with collage projects. Together, they gather stacks of paper and magazines and start creating. Sometimes it’s a free-for-all, sometimes they pick a category and just go with it. Either way, they make it fun. |
* Nguồn: Photoshop CC
Ý KIẾN THÀNH VIÊN