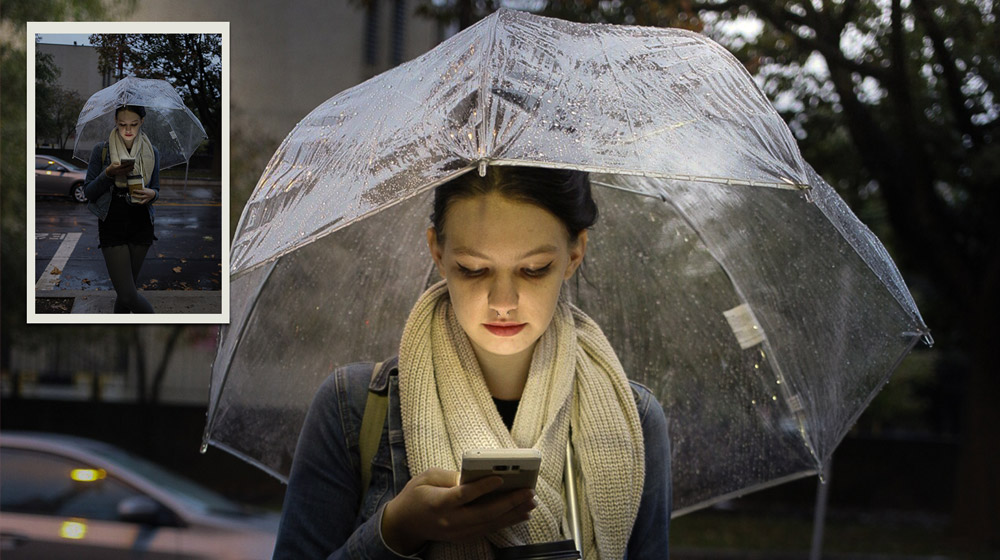
The video steps that follow show techniques you can use to lighten (dodge) or darken (burn) parts of a photo for different effects. Your results may vary, and that’s okay.
Lighten and darken different parts of a photo in Lightroom CC
Often you’ll find that lighting can affect different parts of a photo in different ways. Target specific parts of your photo with the Radial Gradient tool in Adobe Photoshop Lightroom CC to add drama and detail. For this example, we’ll use the tool to bring out details hidden due to low exposure or darken other areas in your photo. Feel free to experiment with the photo provided with this tutorial, or use your own.

What you'll need
Edit the photo to make it appear as though the light from the phone illuminates the model’s face, while also shedding some light on her umbrella. To do this, lighten (or dodge) areas that are too dark.
Select the Radial Gradient tool and drag it over the model’s face. Drag the blue pin to position it, and then drag the white circles to resize the editing area. By default, your edits will affect the area outside the oval. Click Invert to have your edits affect the area inside the oval. Adjust some settings such as increasing the Temp and Exposure to brighten this area of the photo and bring out the detail.
Tip: Hover over the blue pin to display the red mask, which indicates the area of the photo where the edits will be applied.
Now add light and a bit of color to another area of the photo.
Right-click on the Radial Gradient you just added and choose Duplicate. Move the new gradient and resize it over the tree on the right to apply the same edits you made to the model’s face and umbrella. Move your cursor just outside the oval to show the double-arrow cursor, and then drag to rotate as necessary. The tree is a bit darker than the model, so you can try increasing the Exposure some more. You can also increase the Shadows, Whites, and Blacks to bring out more detail.
Try this on your own: Duplicate the gradient and drag it over the tree on the left.
Darken (or burn) the car and the street to set the focus more on the model.
Add a Radial Gradient and resize it to include the car and the street to the left of the model. Then, lower the Exposure.
Add as many gradients as necessary to make the selective edits and get the look you want. Experiment with the Radial Gradient tool on your own photos to see the different effects you can achieve.
Tip: For more detailed information on using the Radial Gradient, or other selective editing tools, check out the Make selective edits tutorial.

* Nguồn: Lightroom CC
Ý KIẾN THÀNH VIÊN