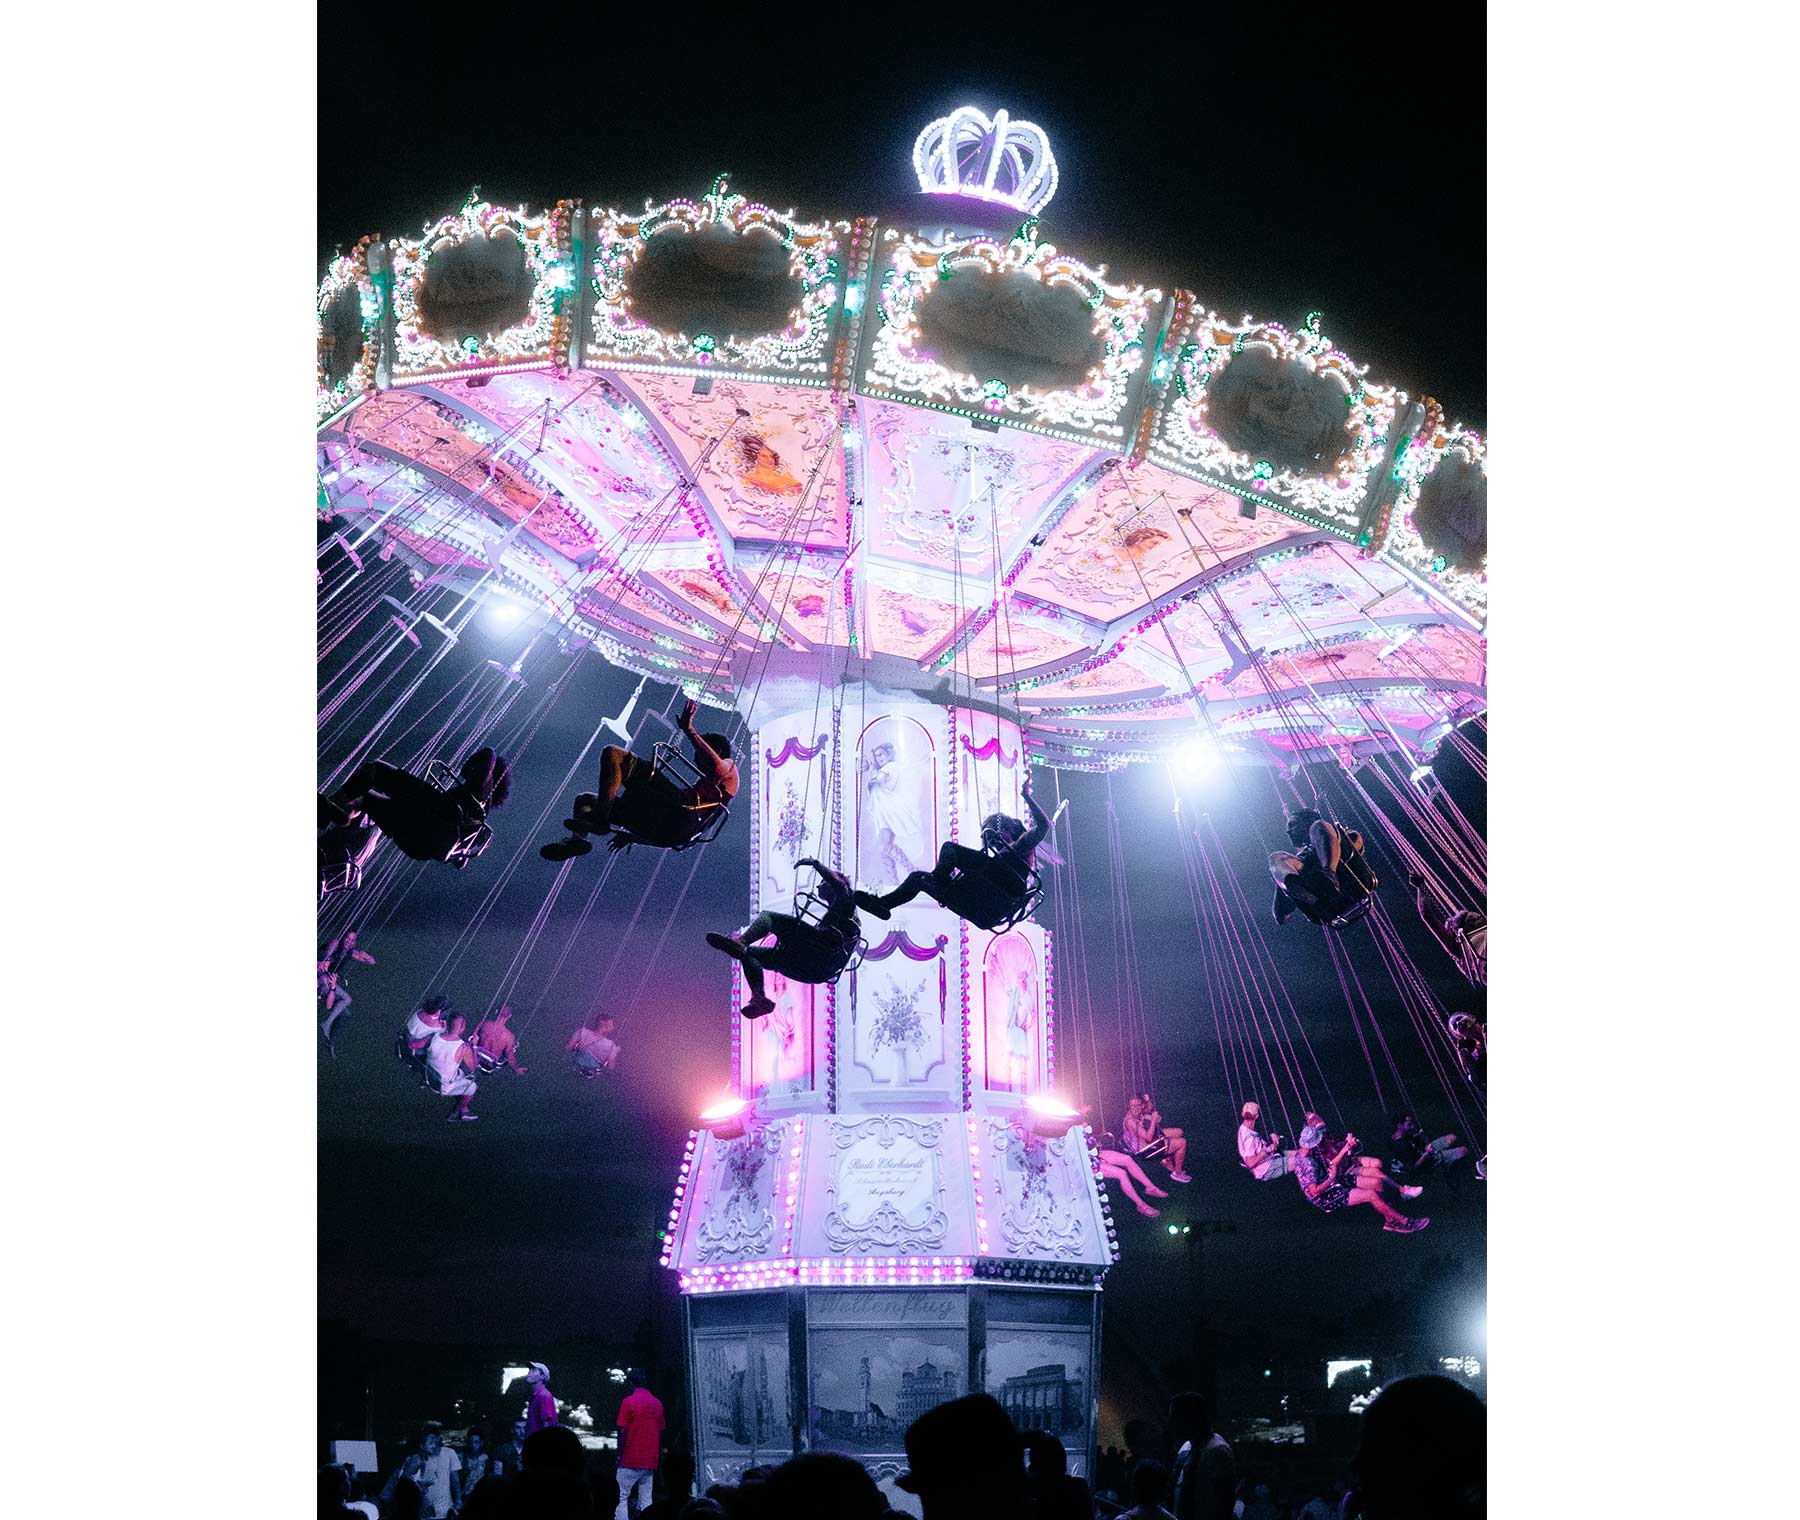
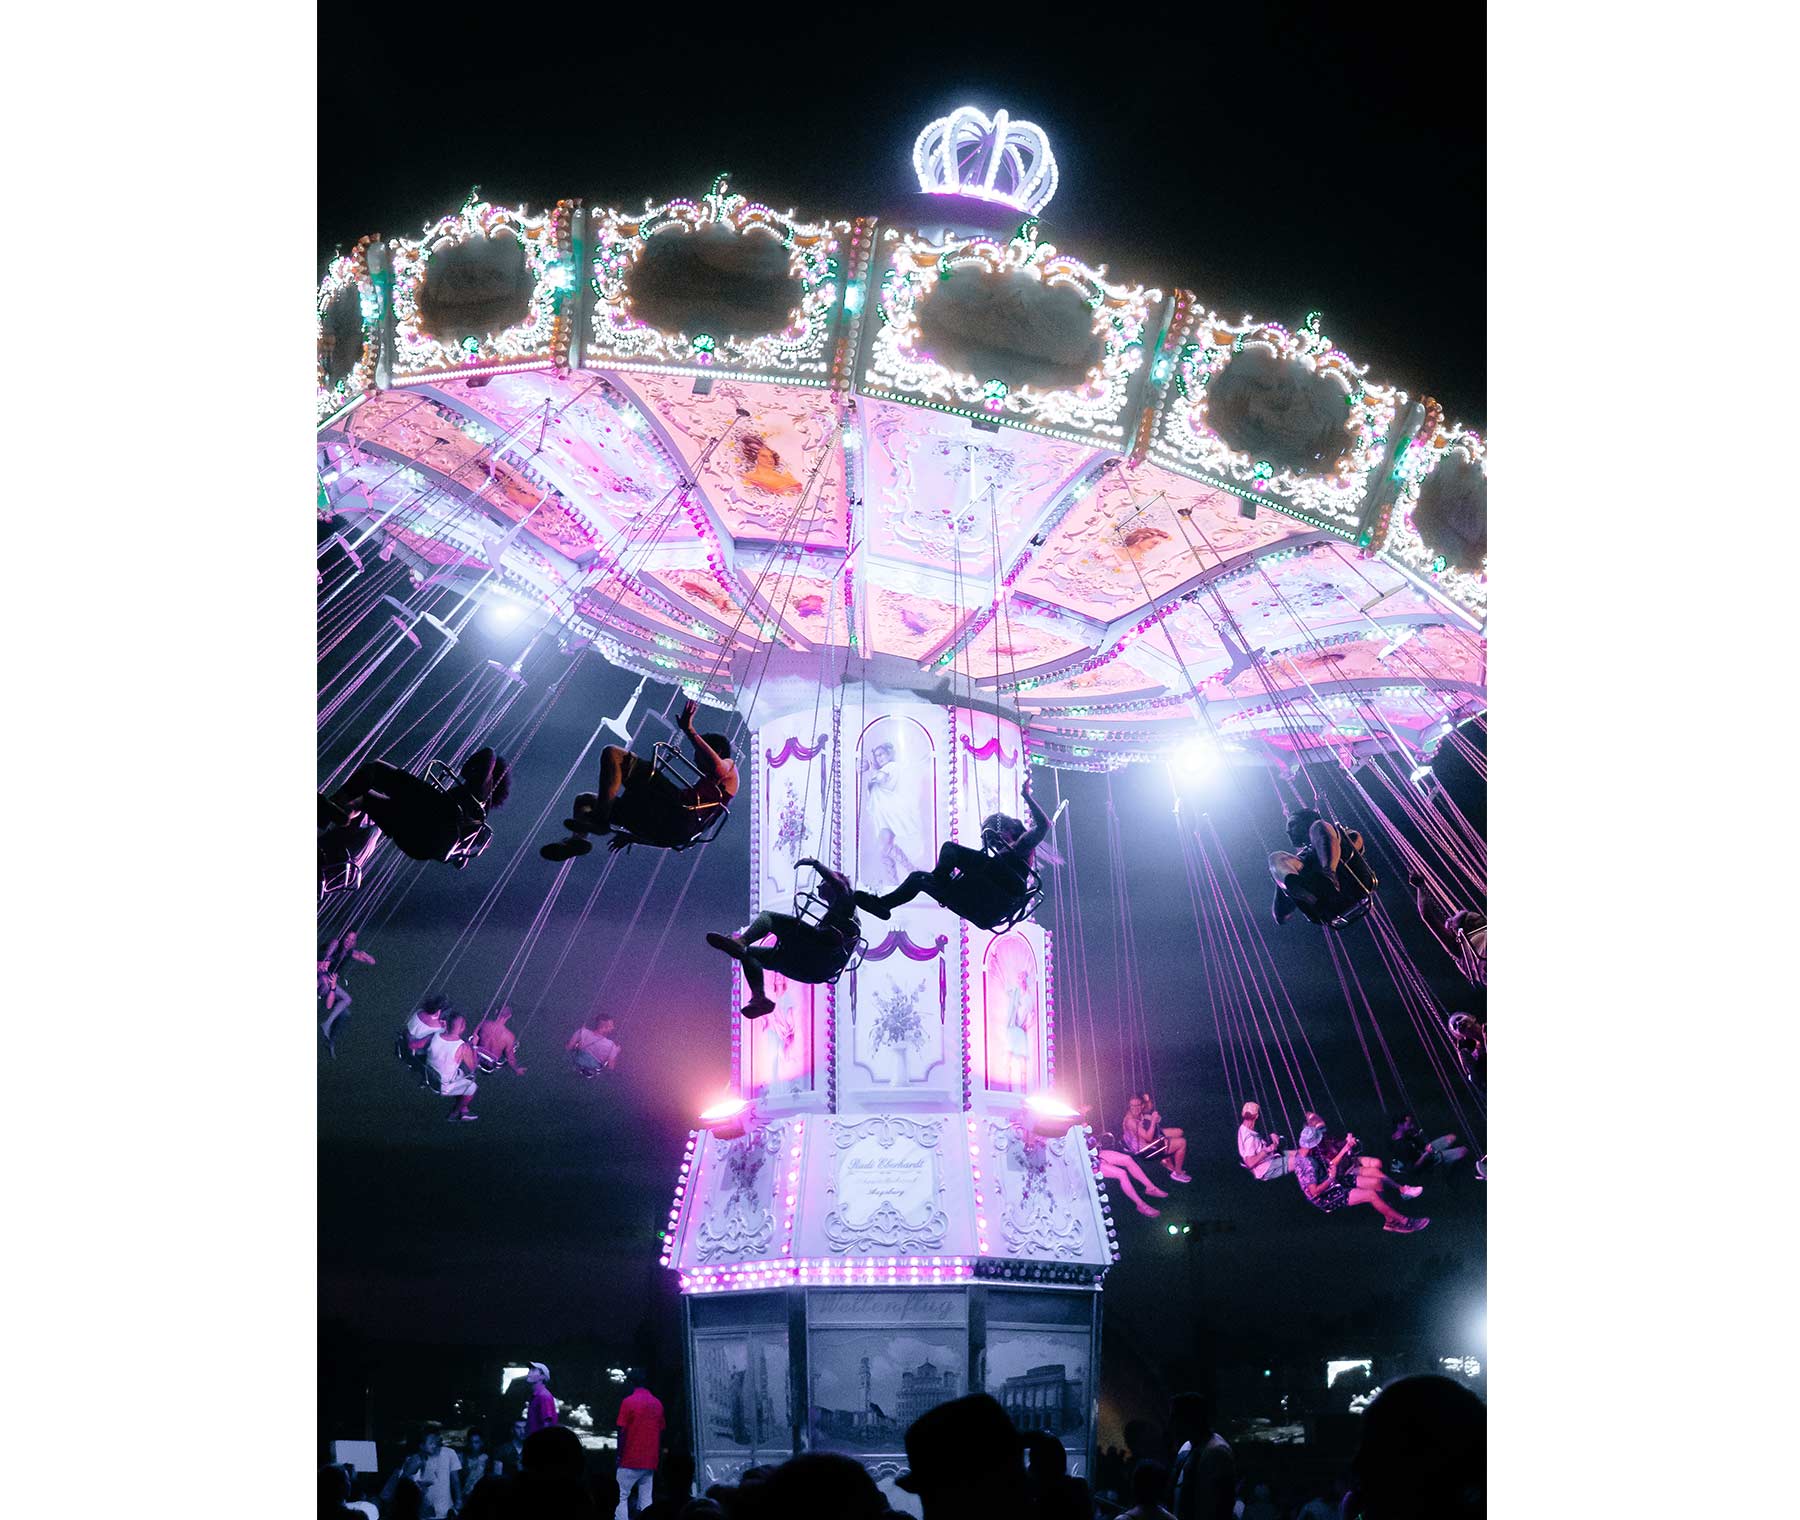
Feel free to use the image we provided, or use these steps to sharpen your own nighttime photo. Switch to the Develop module to make your edits. Then, click the triangle at the left edge of your screen to minimize the left panel and increase your editing workspace. We’ll work exclusively with the Noise Reduction and Sharpening settings, so expand the Detail panel.
Reduce noise in night photos in Lightroom Classic
If your night shots are grainy, you can sharpen them using the Noise Reduction and Sharpening settings in Adobe Photoshop Lightroom Classic CC.

What you'll need

Tap the Y key on your keyboard to cycle through the before and after views as you edit. The Luminance setting causes the most noticeable change to the noise in the photo, so experiment with this to see the results. Move the Luminance slider all the way to the left to see how much noise is added, then all the way to the right to see how it softens the photo.

Your photo probably doesn’t require such an extreme change to Luminance — too high and the image is unnaturally soft; too low and the image is even more grainy. The ideal setting is usually somewhere in between. Adjust the Detail and Contrast to fine-tune the improvements made by the Luminance adjustment. Click the toggle at the top of the Detail panel to see the difference your adjustments make. See below for the Noise Reduction adjustments we liked for this photo.

Now let’s fine-tune this photo to bring more clarity. Use the Sharpening settings to further refine the details. To see more clearly where the Sharpening will take effect, hold the Alt key (Windows) or Option key (macOS) as you adjust the sliders.


With Adobe Stock, you have access to more than 100 million high-quality, royalty-free images including photos, graphics, videos, and templates to jump-start your creative projects. Try Adobe Stock and get 10 free images.
* Nguồn: Lightroom Classic
Ý KIẾN THÀNH VIÊN