Note: The Live Text template feature changed in the 2017 release of Adobe After Effects CC and Adobe Premiere Pro CC. Please read the latest instructions for using Live Text templates in the Premiere Pro documentation.
Use Live Text templates from After Effects in Premiere Pro in Premiere Pro CC
Learn how to import a text motion graphic created in After Effects into a Premiere Pro sequence and edit the Live Text template without opening After Effects.

What you'll need
In After Effects: Create a composition containing text. Alternatively, download the ZIP file that accompanies this tutorial and open the sample LiveText.aep project file in After Effects.
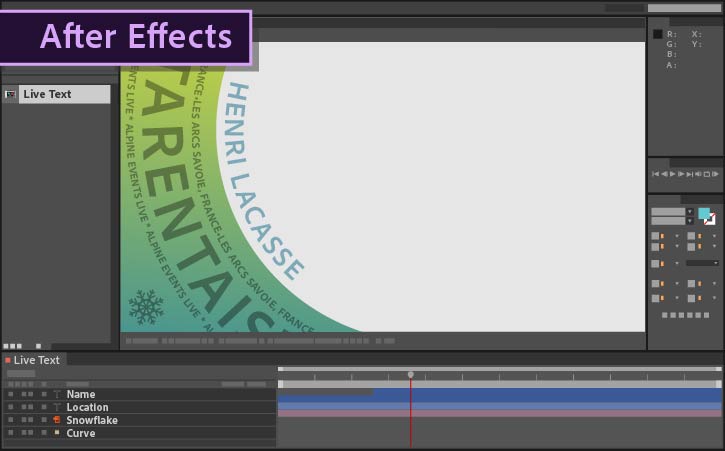
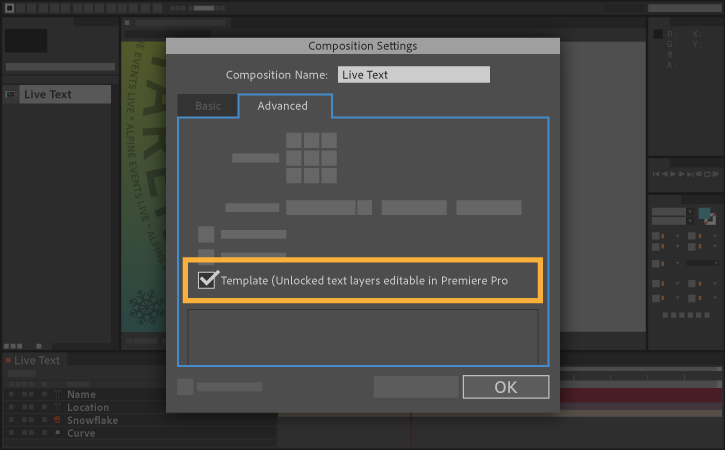
To make sure that text layers are editable, select the comp that contains the text layer (such as Live Text) and choose Composition > Composition Settings.
Click the Advanced tab and check the Template option. (The text layers are already selected in the sample LiveText.aep project file.)
Save your After Effects project.
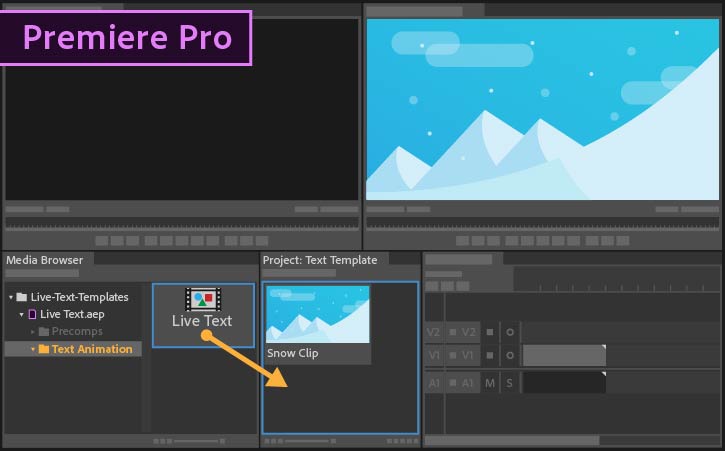
In Premiere Pro: Open a project. Alternatively, open the TextTemplate.prproj project file included with the sample files.
In the Media Browser, navigate to your After Effects project and continue navigating within the project file until you find the text layer. (In the sample file, click inside LiveText.aep and look for LiveText within the Text Animation folder.)
Drag your text layer into the Project panel to import it. (You can also right-click the text layer and choose Import from the contextual menu.)
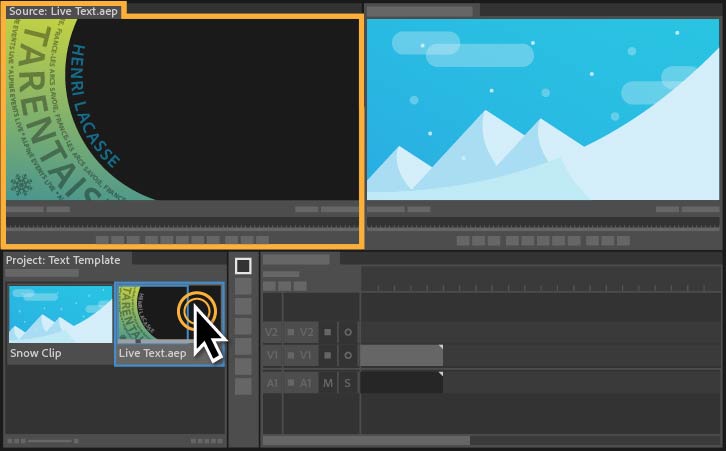
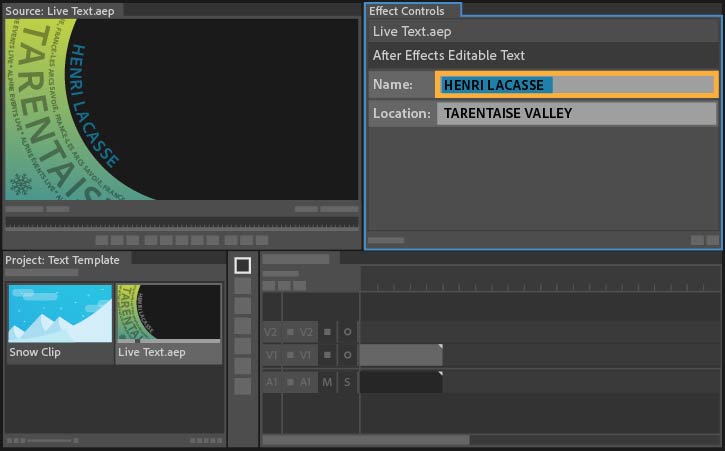
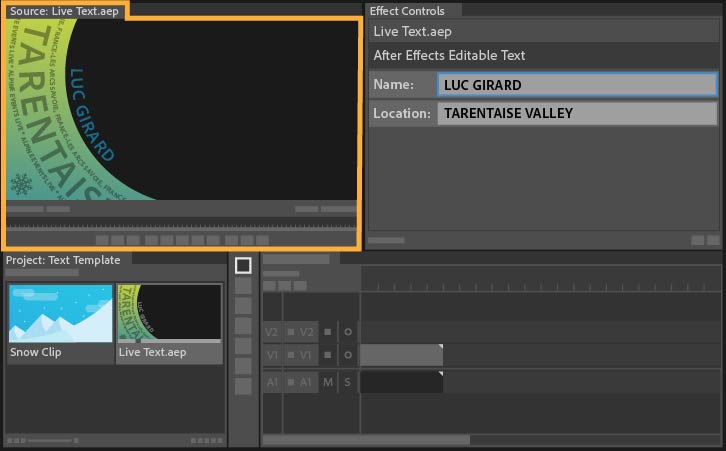
Preview your edited text in the Source monitor. If your composition contains animated text, like the sample files, you may have to move the playhead over a section of the source media to display the text you just edited.
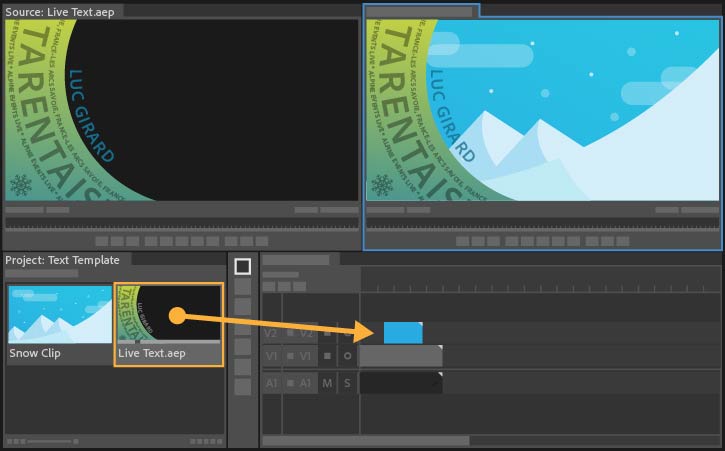
To see your animated text in action, drag your text layer to a sequence in the timeline. Place it on a track above the video to see the text superimposed on the video.
To edit this animated text further, double-click the text composition in the Project panel and change the text in the Effect Controls panel.
Duplicate the text layer in the Project panel to apply additional instances of animated text on your video project.
Tip: From the timeline, put the playhead over any desired frame of your selected After Effects composition and choose Sequence > Match Frame (or press F) to load that clip into the Source monitor and expose its Live Text properties in the Effect Controls panel.
* Nguồn: Premiere Pro CC
Ý KIẾN THÀNH VIÊN