In Lightroom Classic CC, go to File > Import Photos and Video, or press the Import button in the Library module.
Use presets to convert to black & white in Lightroom Classic
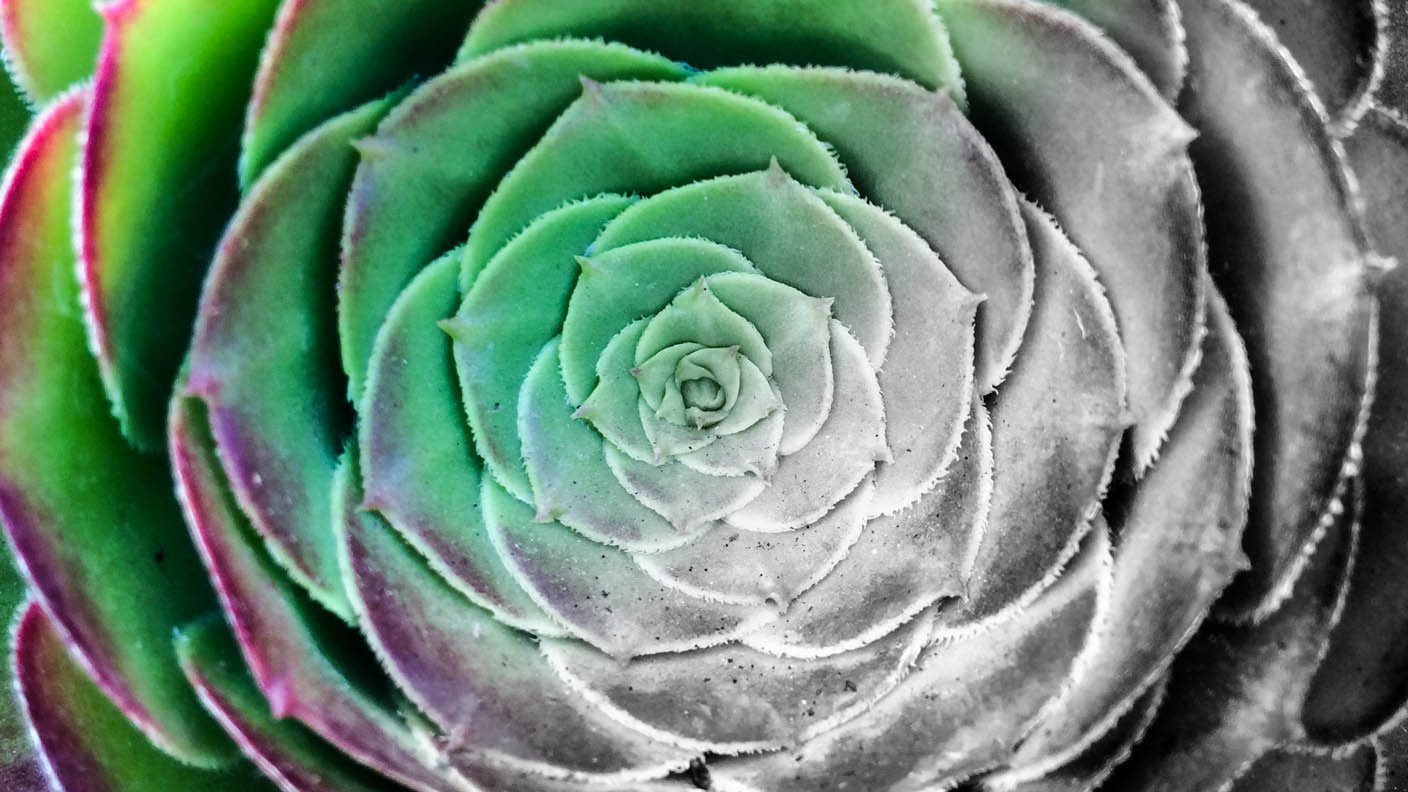
Transform your color photos into black & white images with Adobe Lightroom Classic CC presets, and fine-tune the look further with easy-to-use adjustment sliders.

What you'll need

Browse to find your photo or the sample photo provided using the Source panel to the left of your workspace. Check the box at the top-left corner of the photo thumbnail to select it for import. Press the Import button at the bottom right corner of your workspace.

Click the Develop tab at the top of your workspace. Locate the Presets to the left of your workspace and open the Lightroom B&W Filter Presets or the Lightroom B&W Presets folders.

Click a preset to apply it to the photo. If you don't like it, click another preset to apply it instead. You can always click Reset to return to your original photo.

Open the Basic adjustment panel to the right of your image and use the sliders to fine tune the black and white processing of your image. Try increasing the Contrast or Clarity. Also adjust the color settings in the HSL/Color/Black & White adjustment panel by moving the Black & White Mix sliders.

* Nguồn: Lightroom Classic
Ý KIẾN THÀNH VIÊN